Zapier
Zapier connects to thousands of apps, and Portant connects to Zapier through a webhook. That means any app Zapier supports can trigger a Portant workflow and have a document generated from its data.
This page covers building a Zap that POSTs to a Portant webhook, testing the connection, formatting the document, and sending the finished file back to Zapier.
Zapier's Webhooks step is a premium feature. You'll need a paid Zapier plan to follow this guide.
Step 1: start a Zap
Sign in to Zapier (or follow the quick-start guide if you're new) and create a new Zap.
Pick any trigger app you like. In this example we're using an Airtable base that tracks expenses, with the trigger set to "new record":
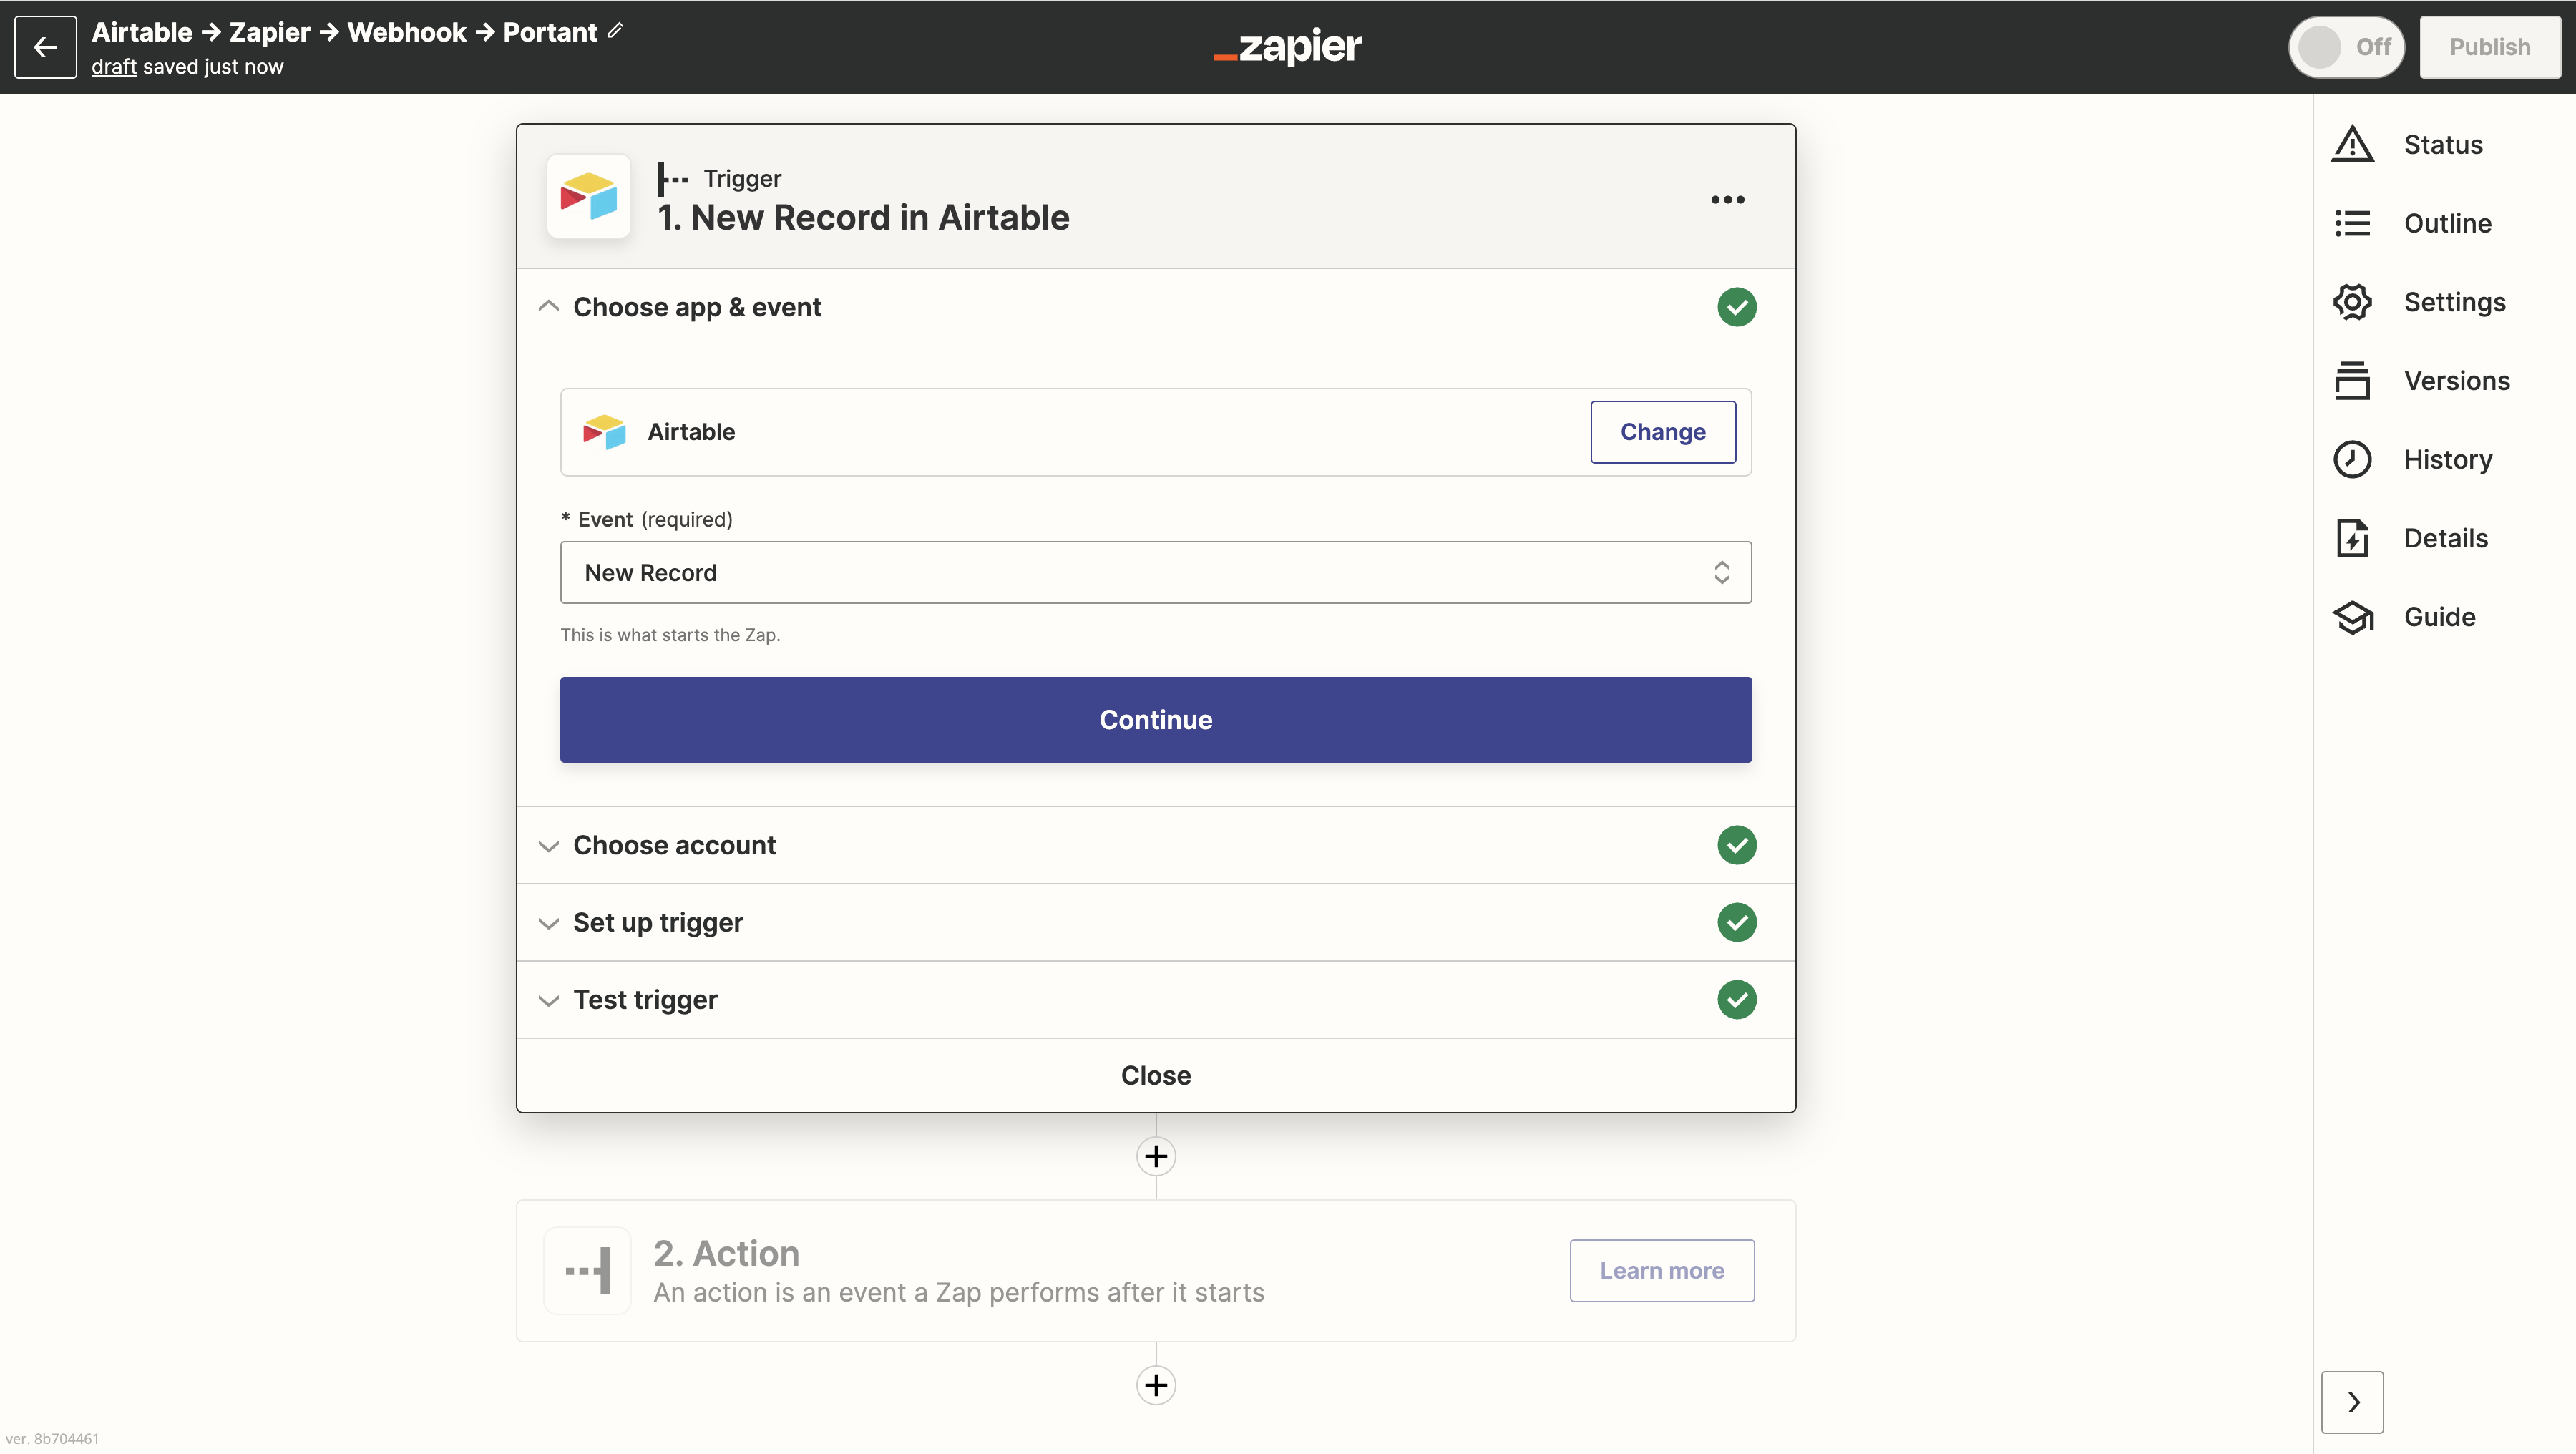
The trigger can be anything. Pick whatever app you want to send data from.
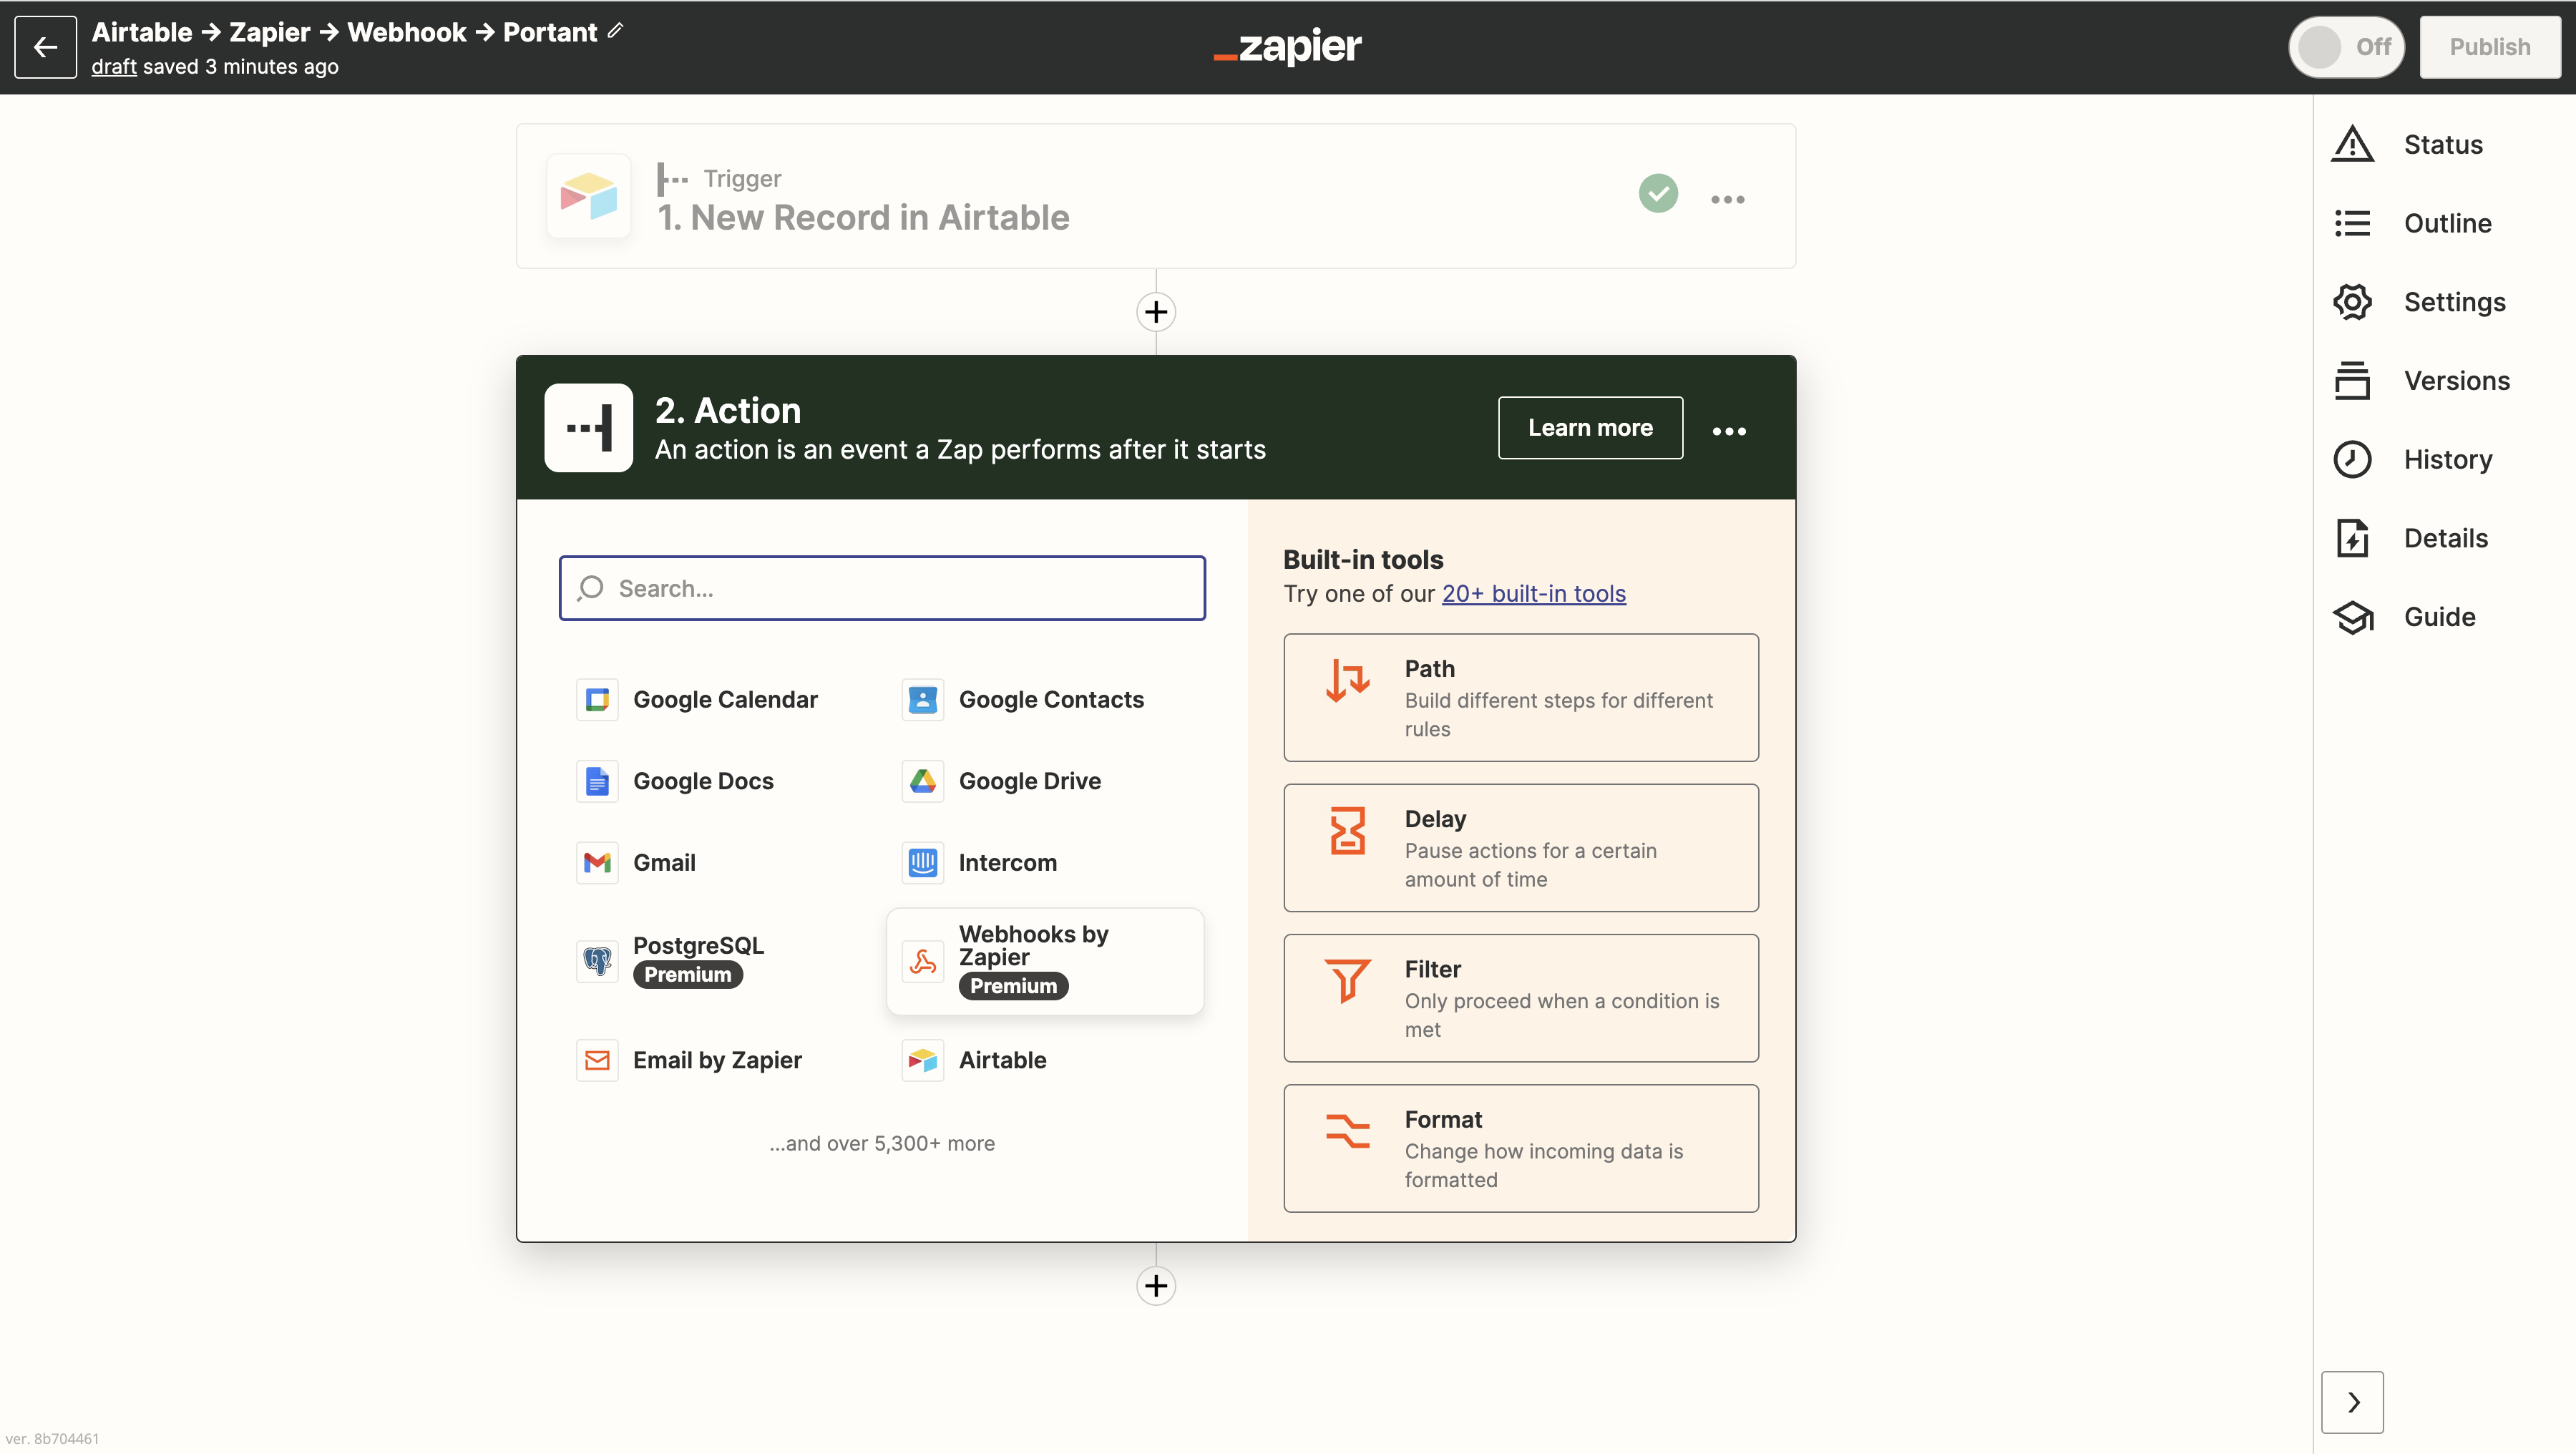
Add an action step and choose Webhooks by Zapier:
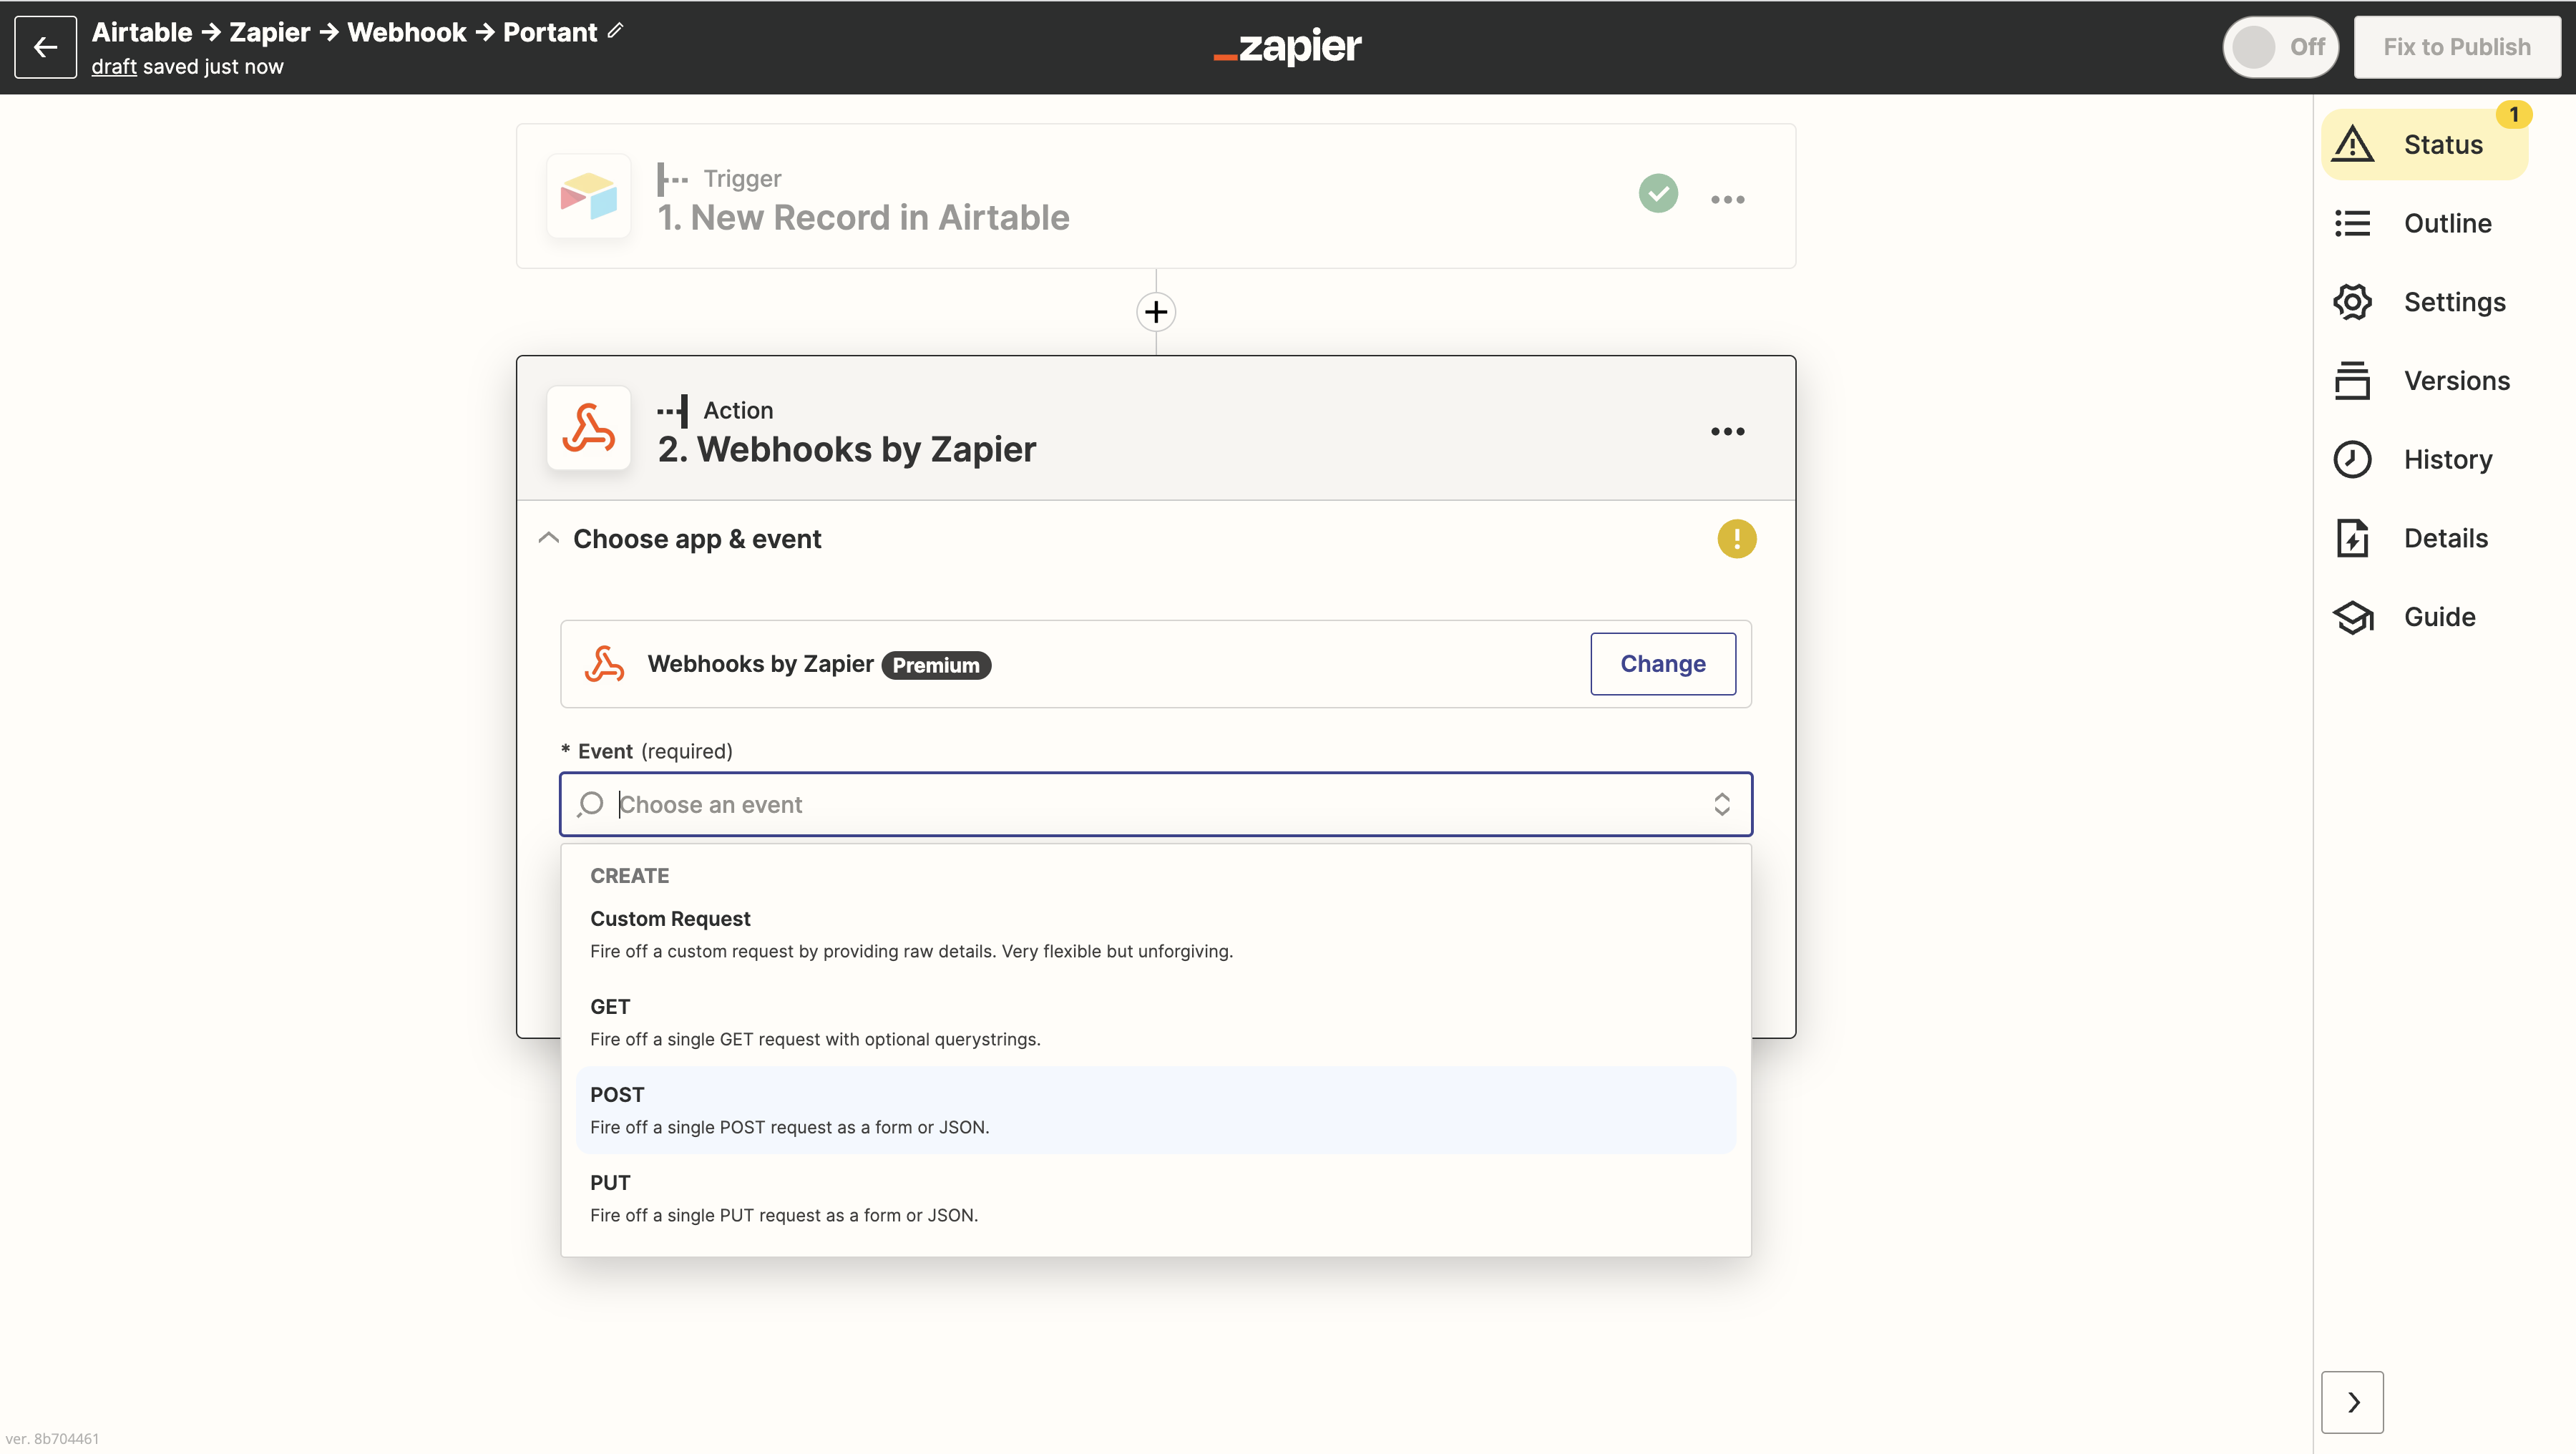
Set the event to POST:
Now switch over to Portant to grab the webhook URL.
Step 2: get the Portant webhook address
In Portant, create a new workflow and pick Use a webhook as the source. (For the full setup, see webhooks.)
The webhook source page shows the URL:
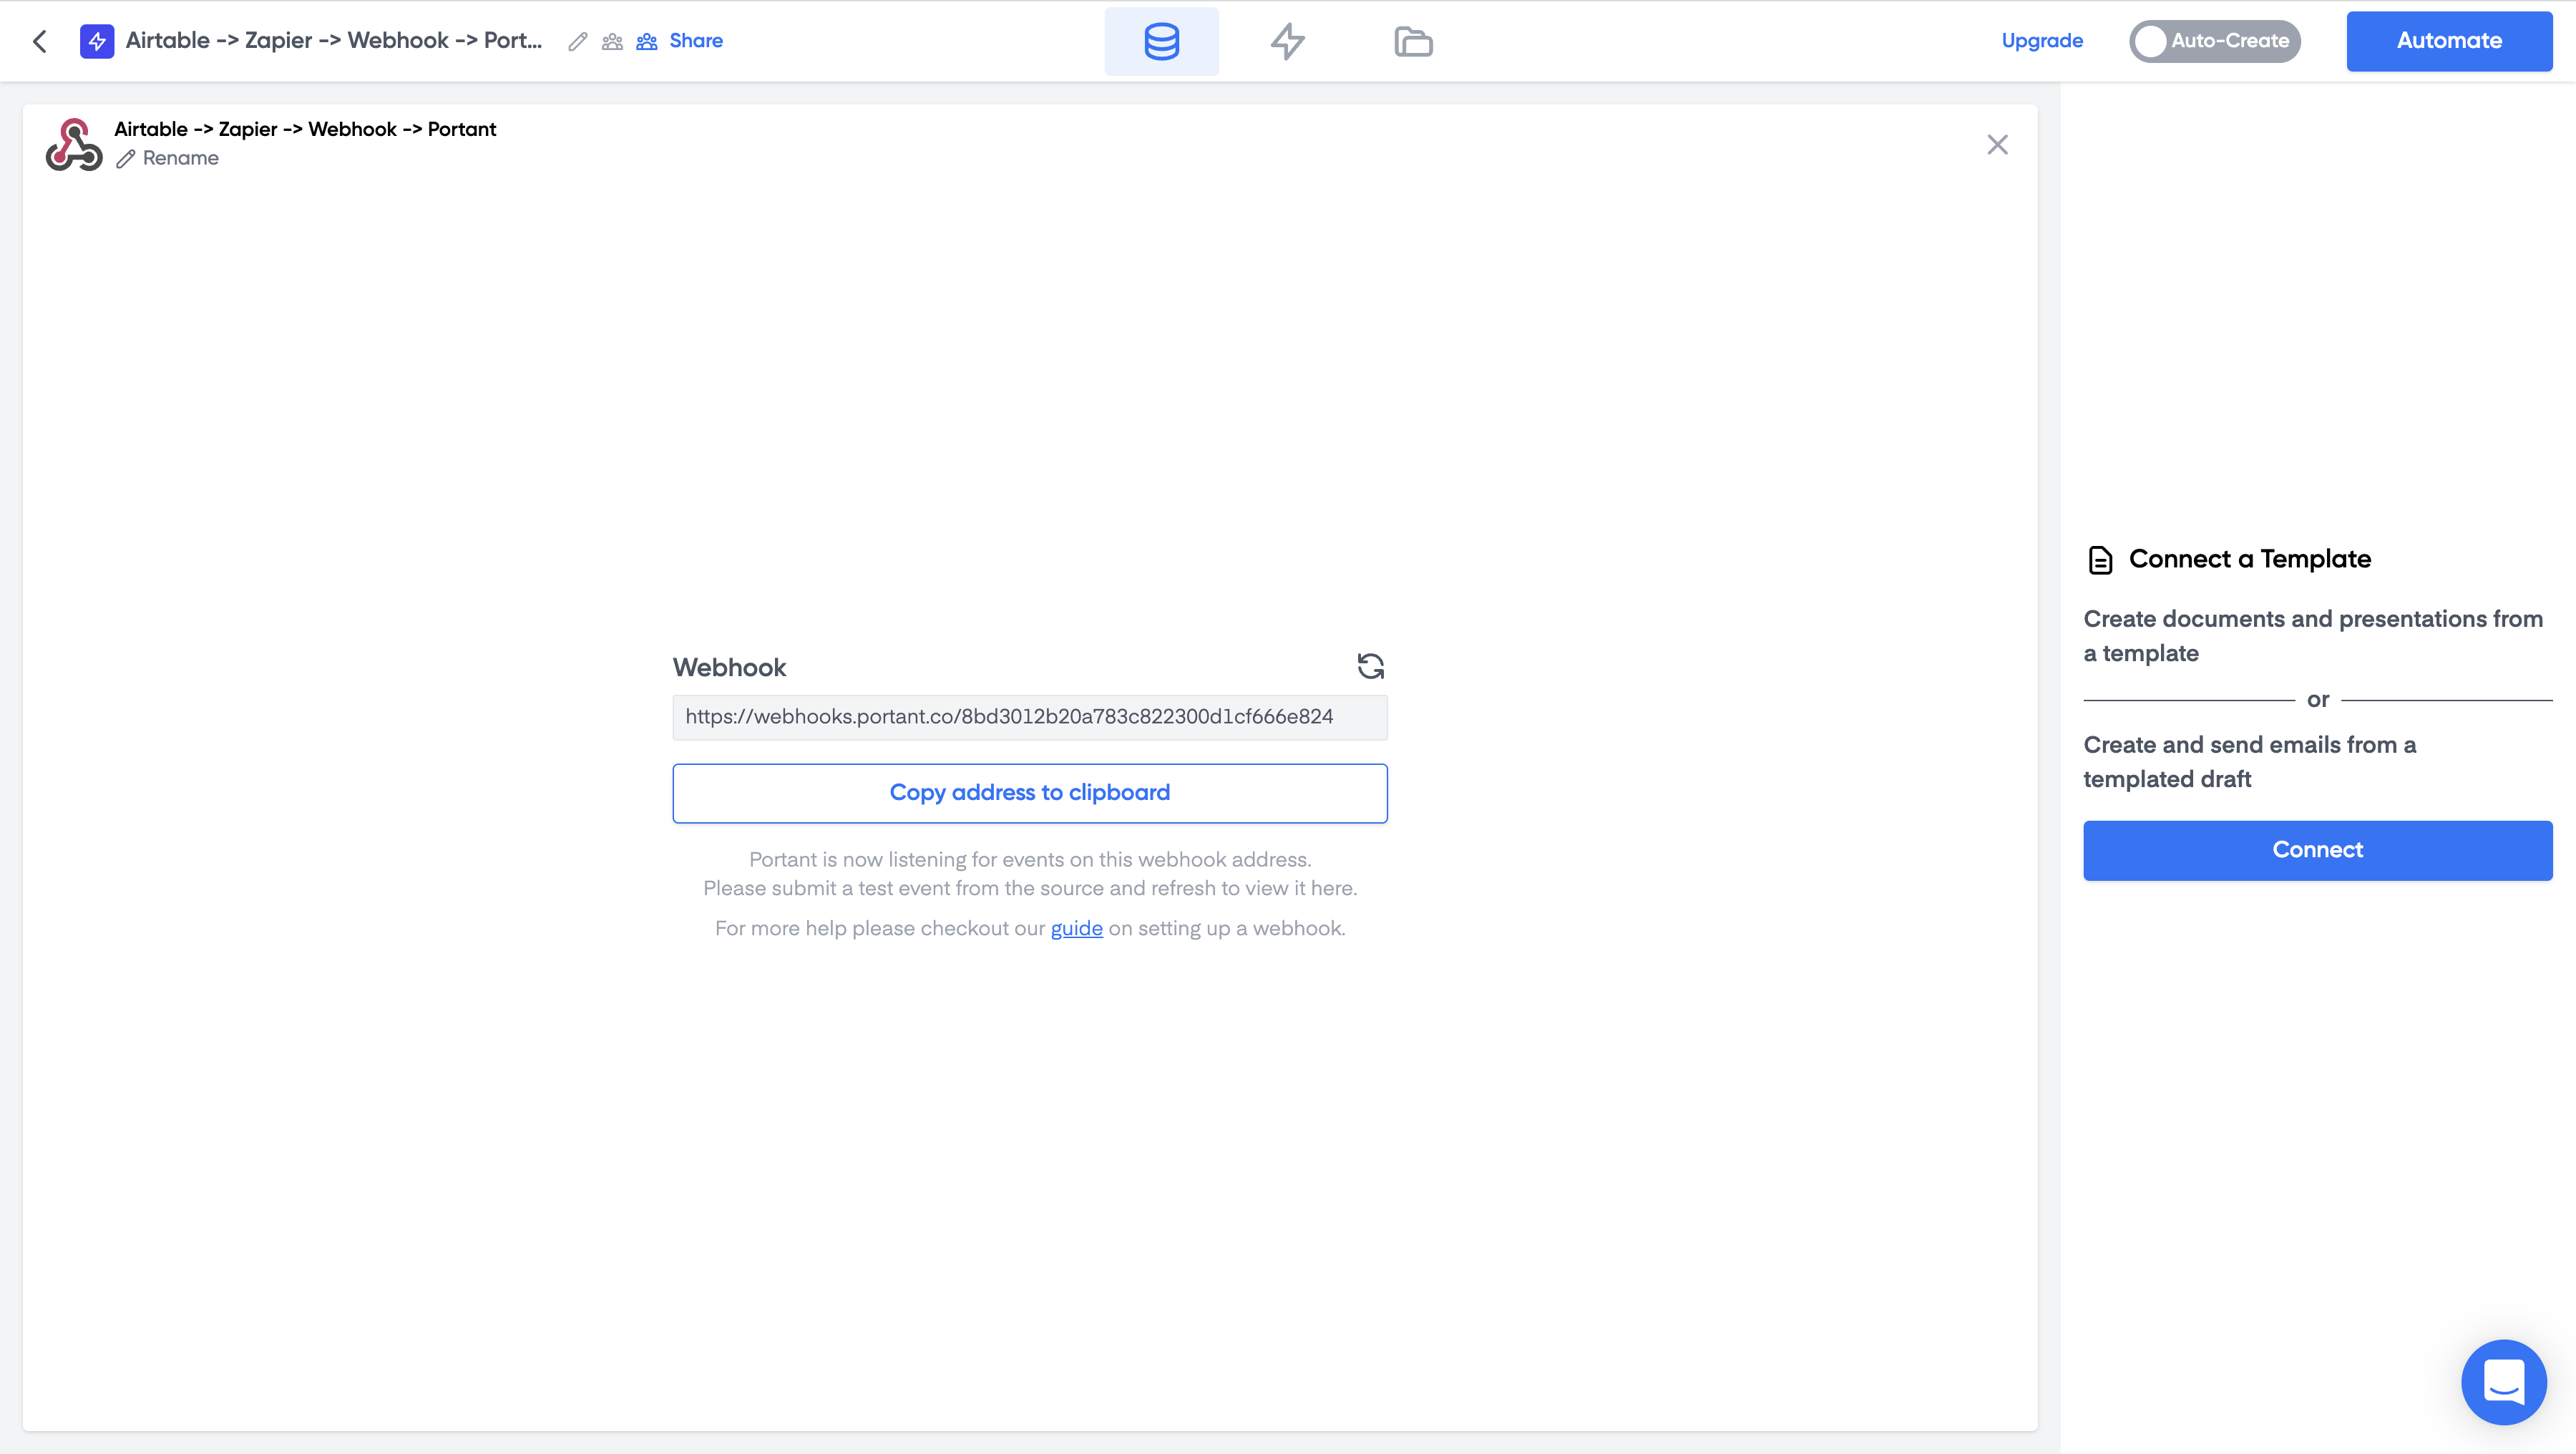
Copy it.
Step 3: paste the webhook into Zapier
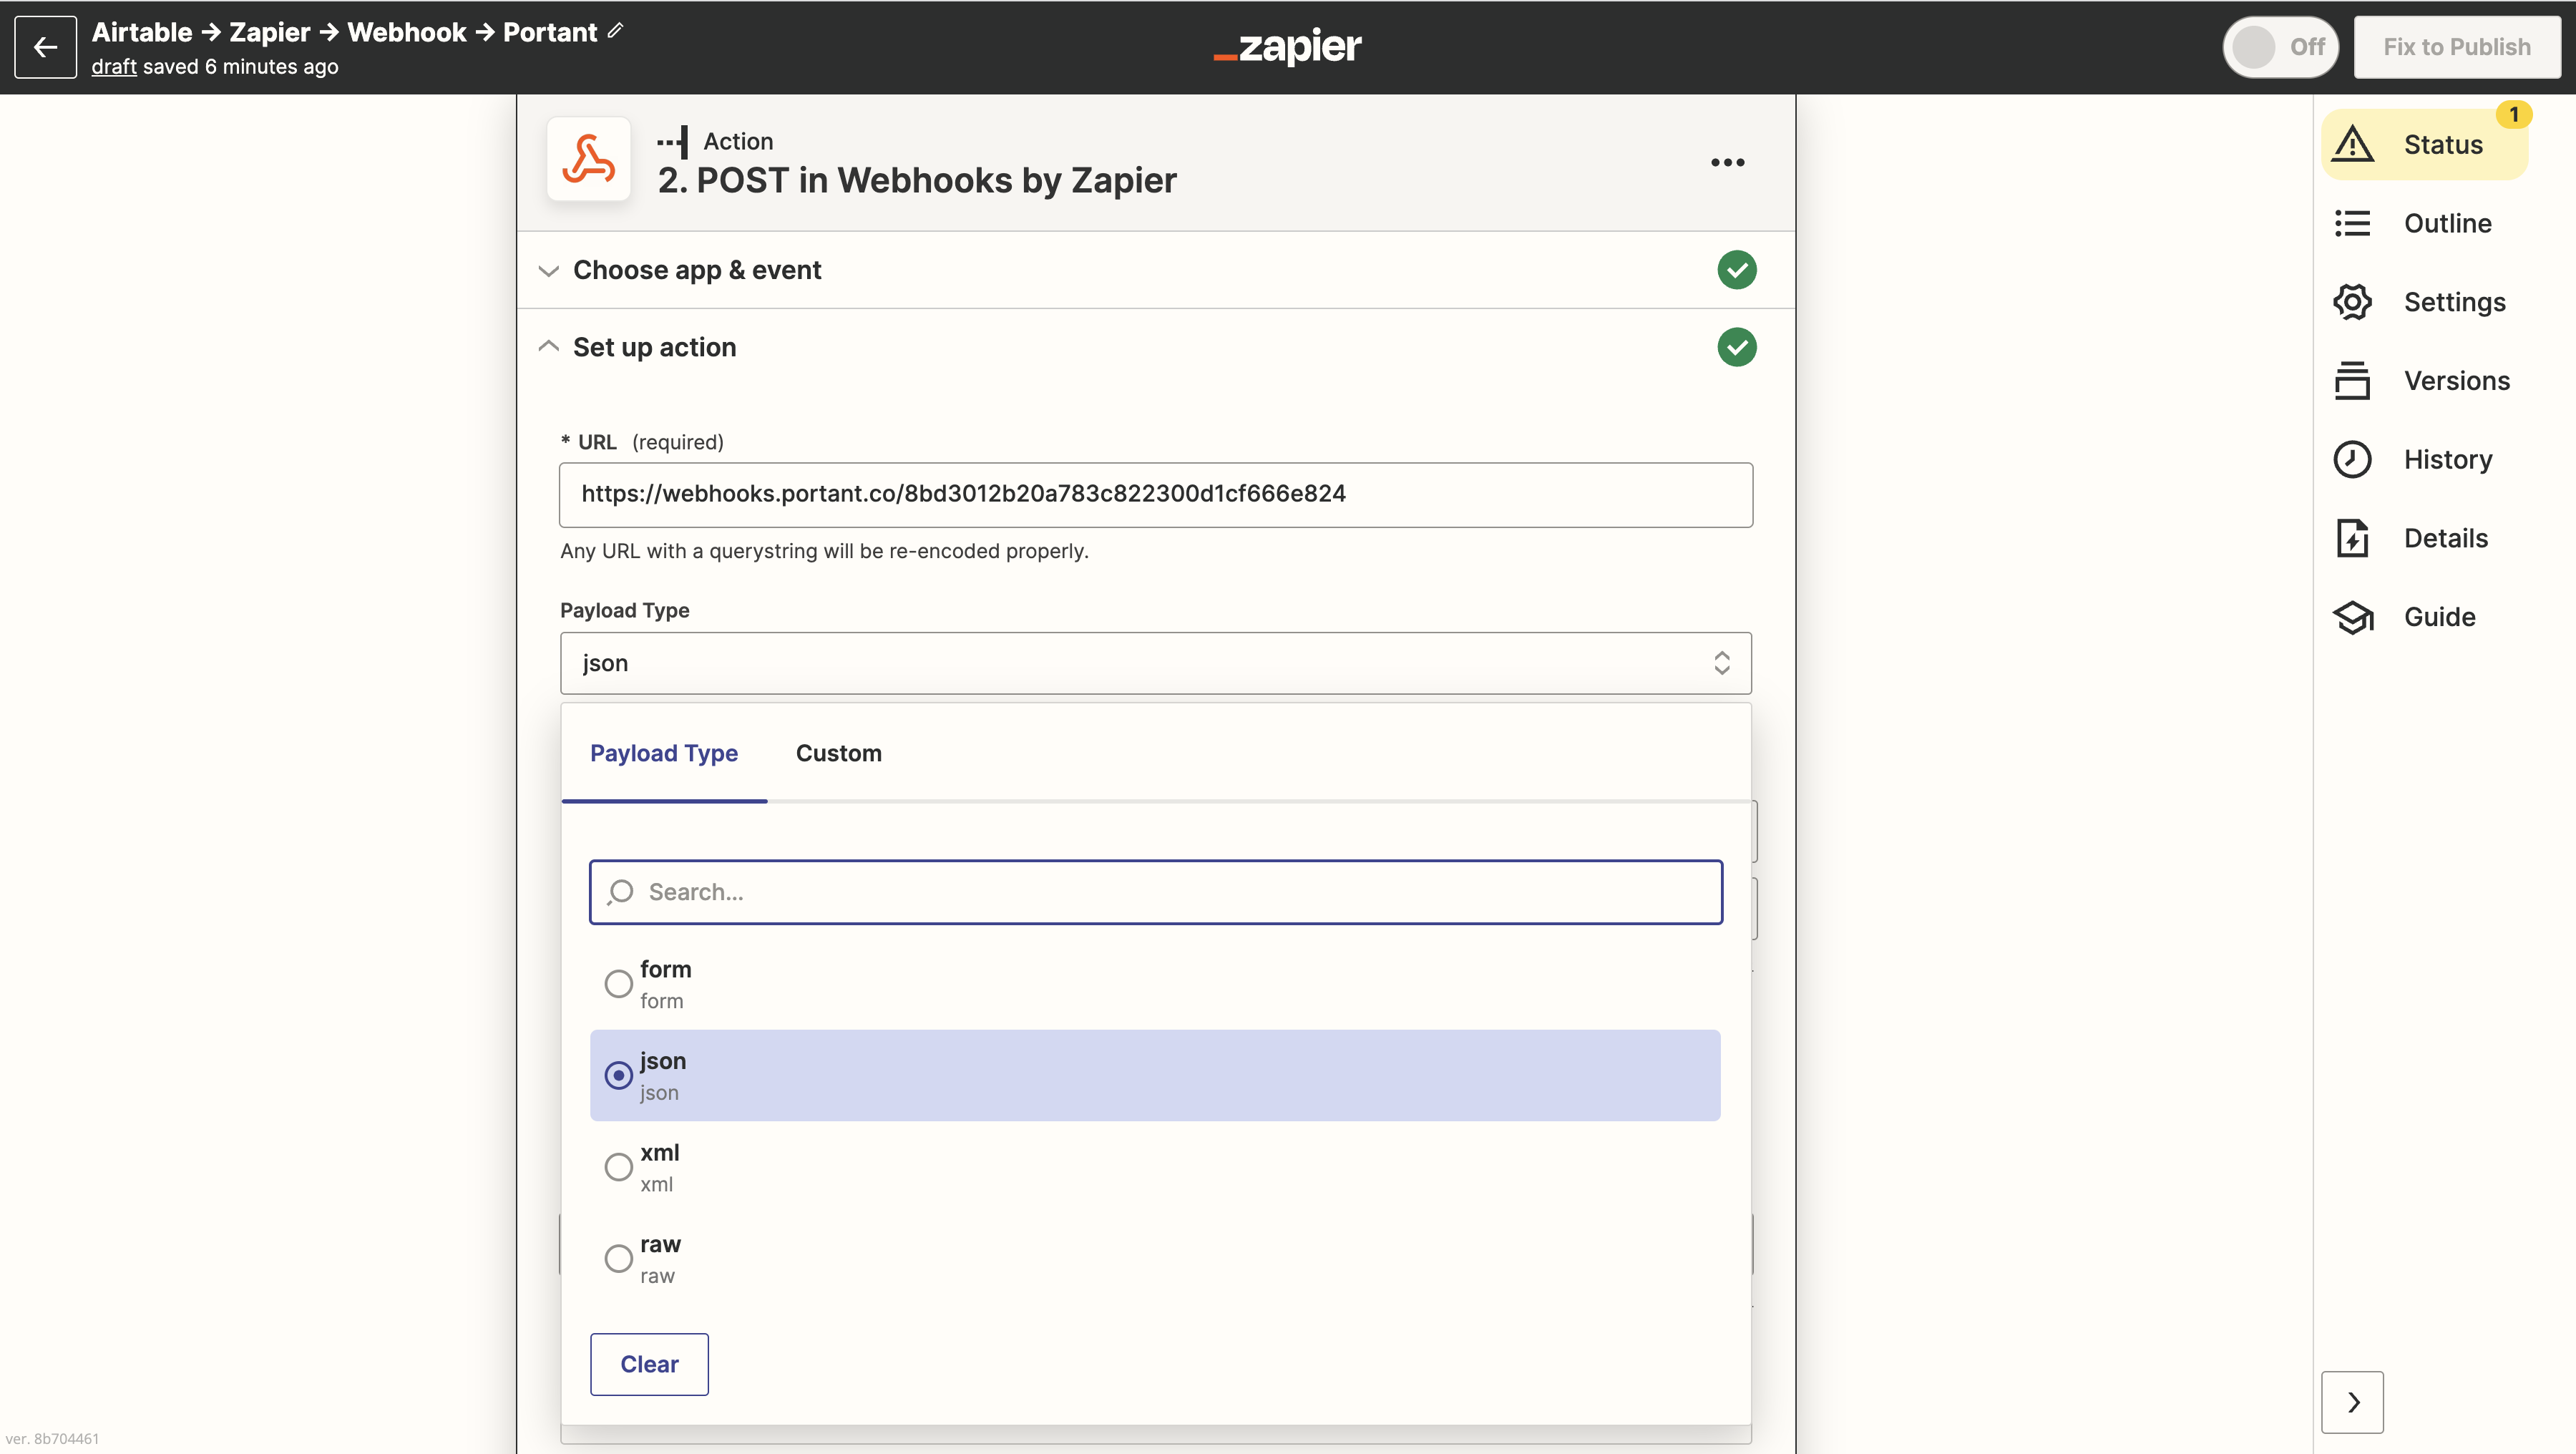
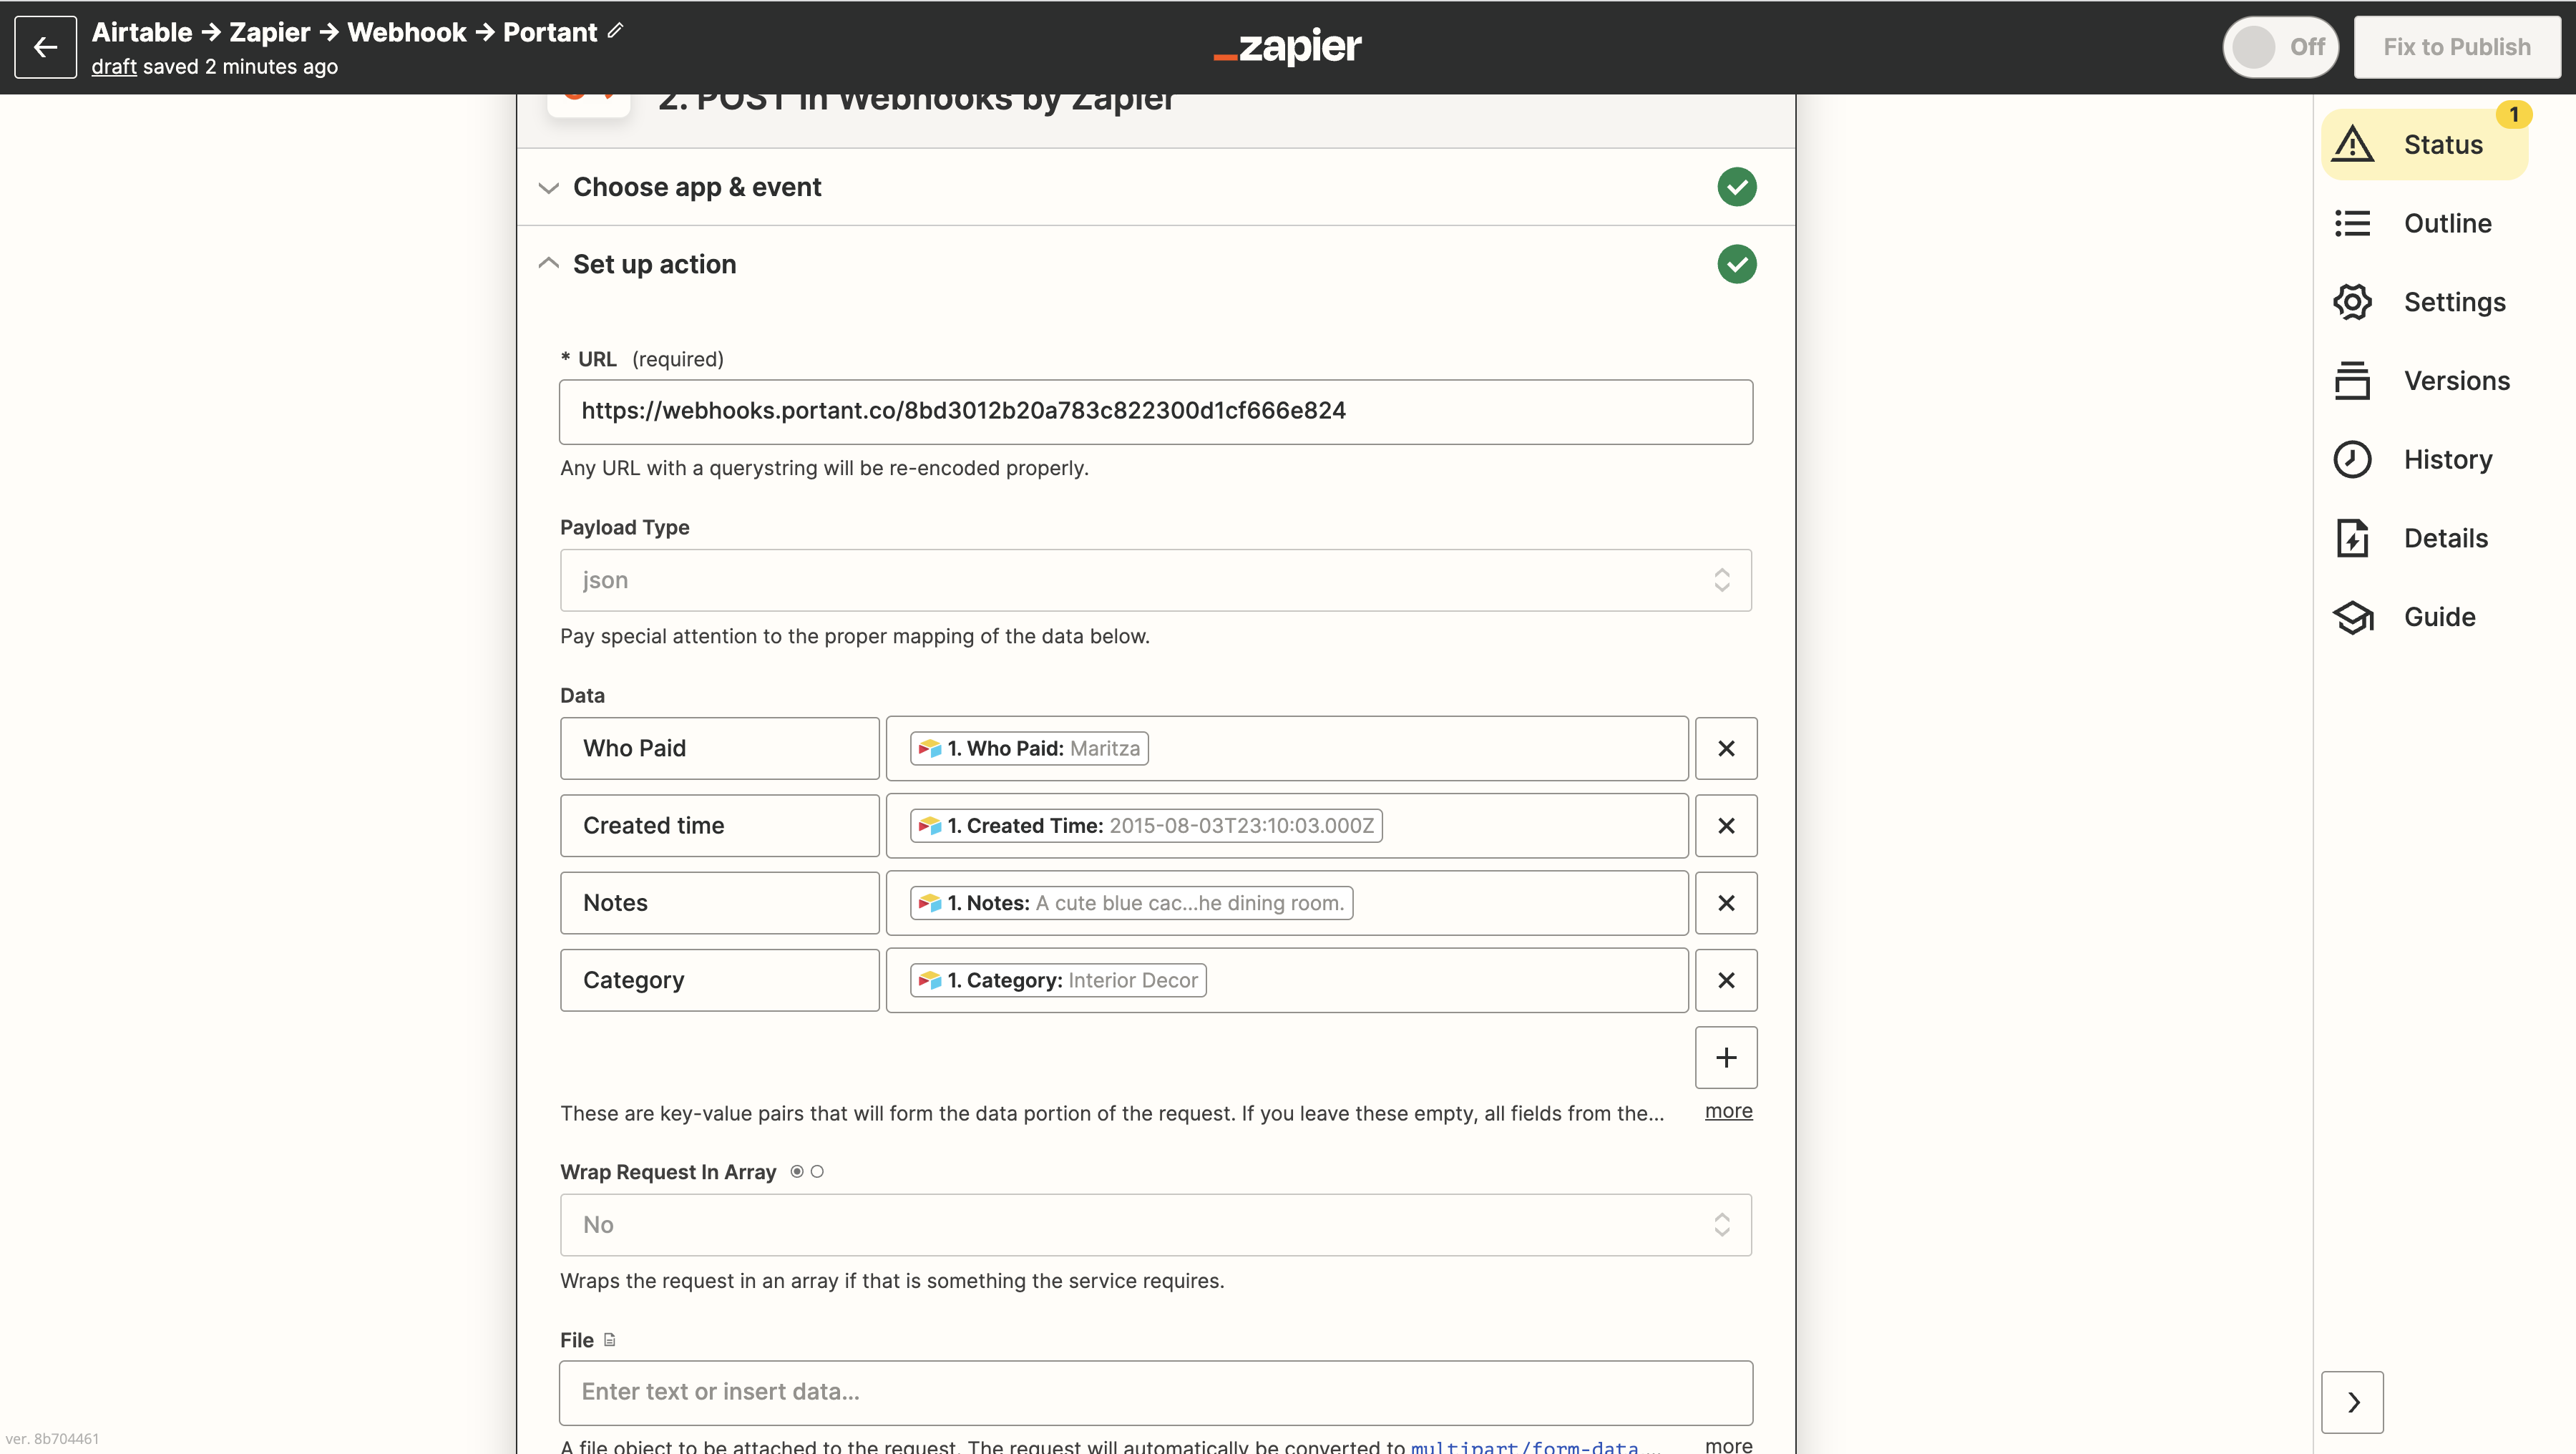
In your Zap, paste the URL into POST Webhooks by Zapier > Set up action > URL.
Set the payload type to JSON:
In the Data table, add the field-value pairs you want to send. The left column is the field name. The right column is the value, usually a token from the trigger step:
Step 4: test the action
Leave the rest of the fields as they are and click Continue, then Test Action:
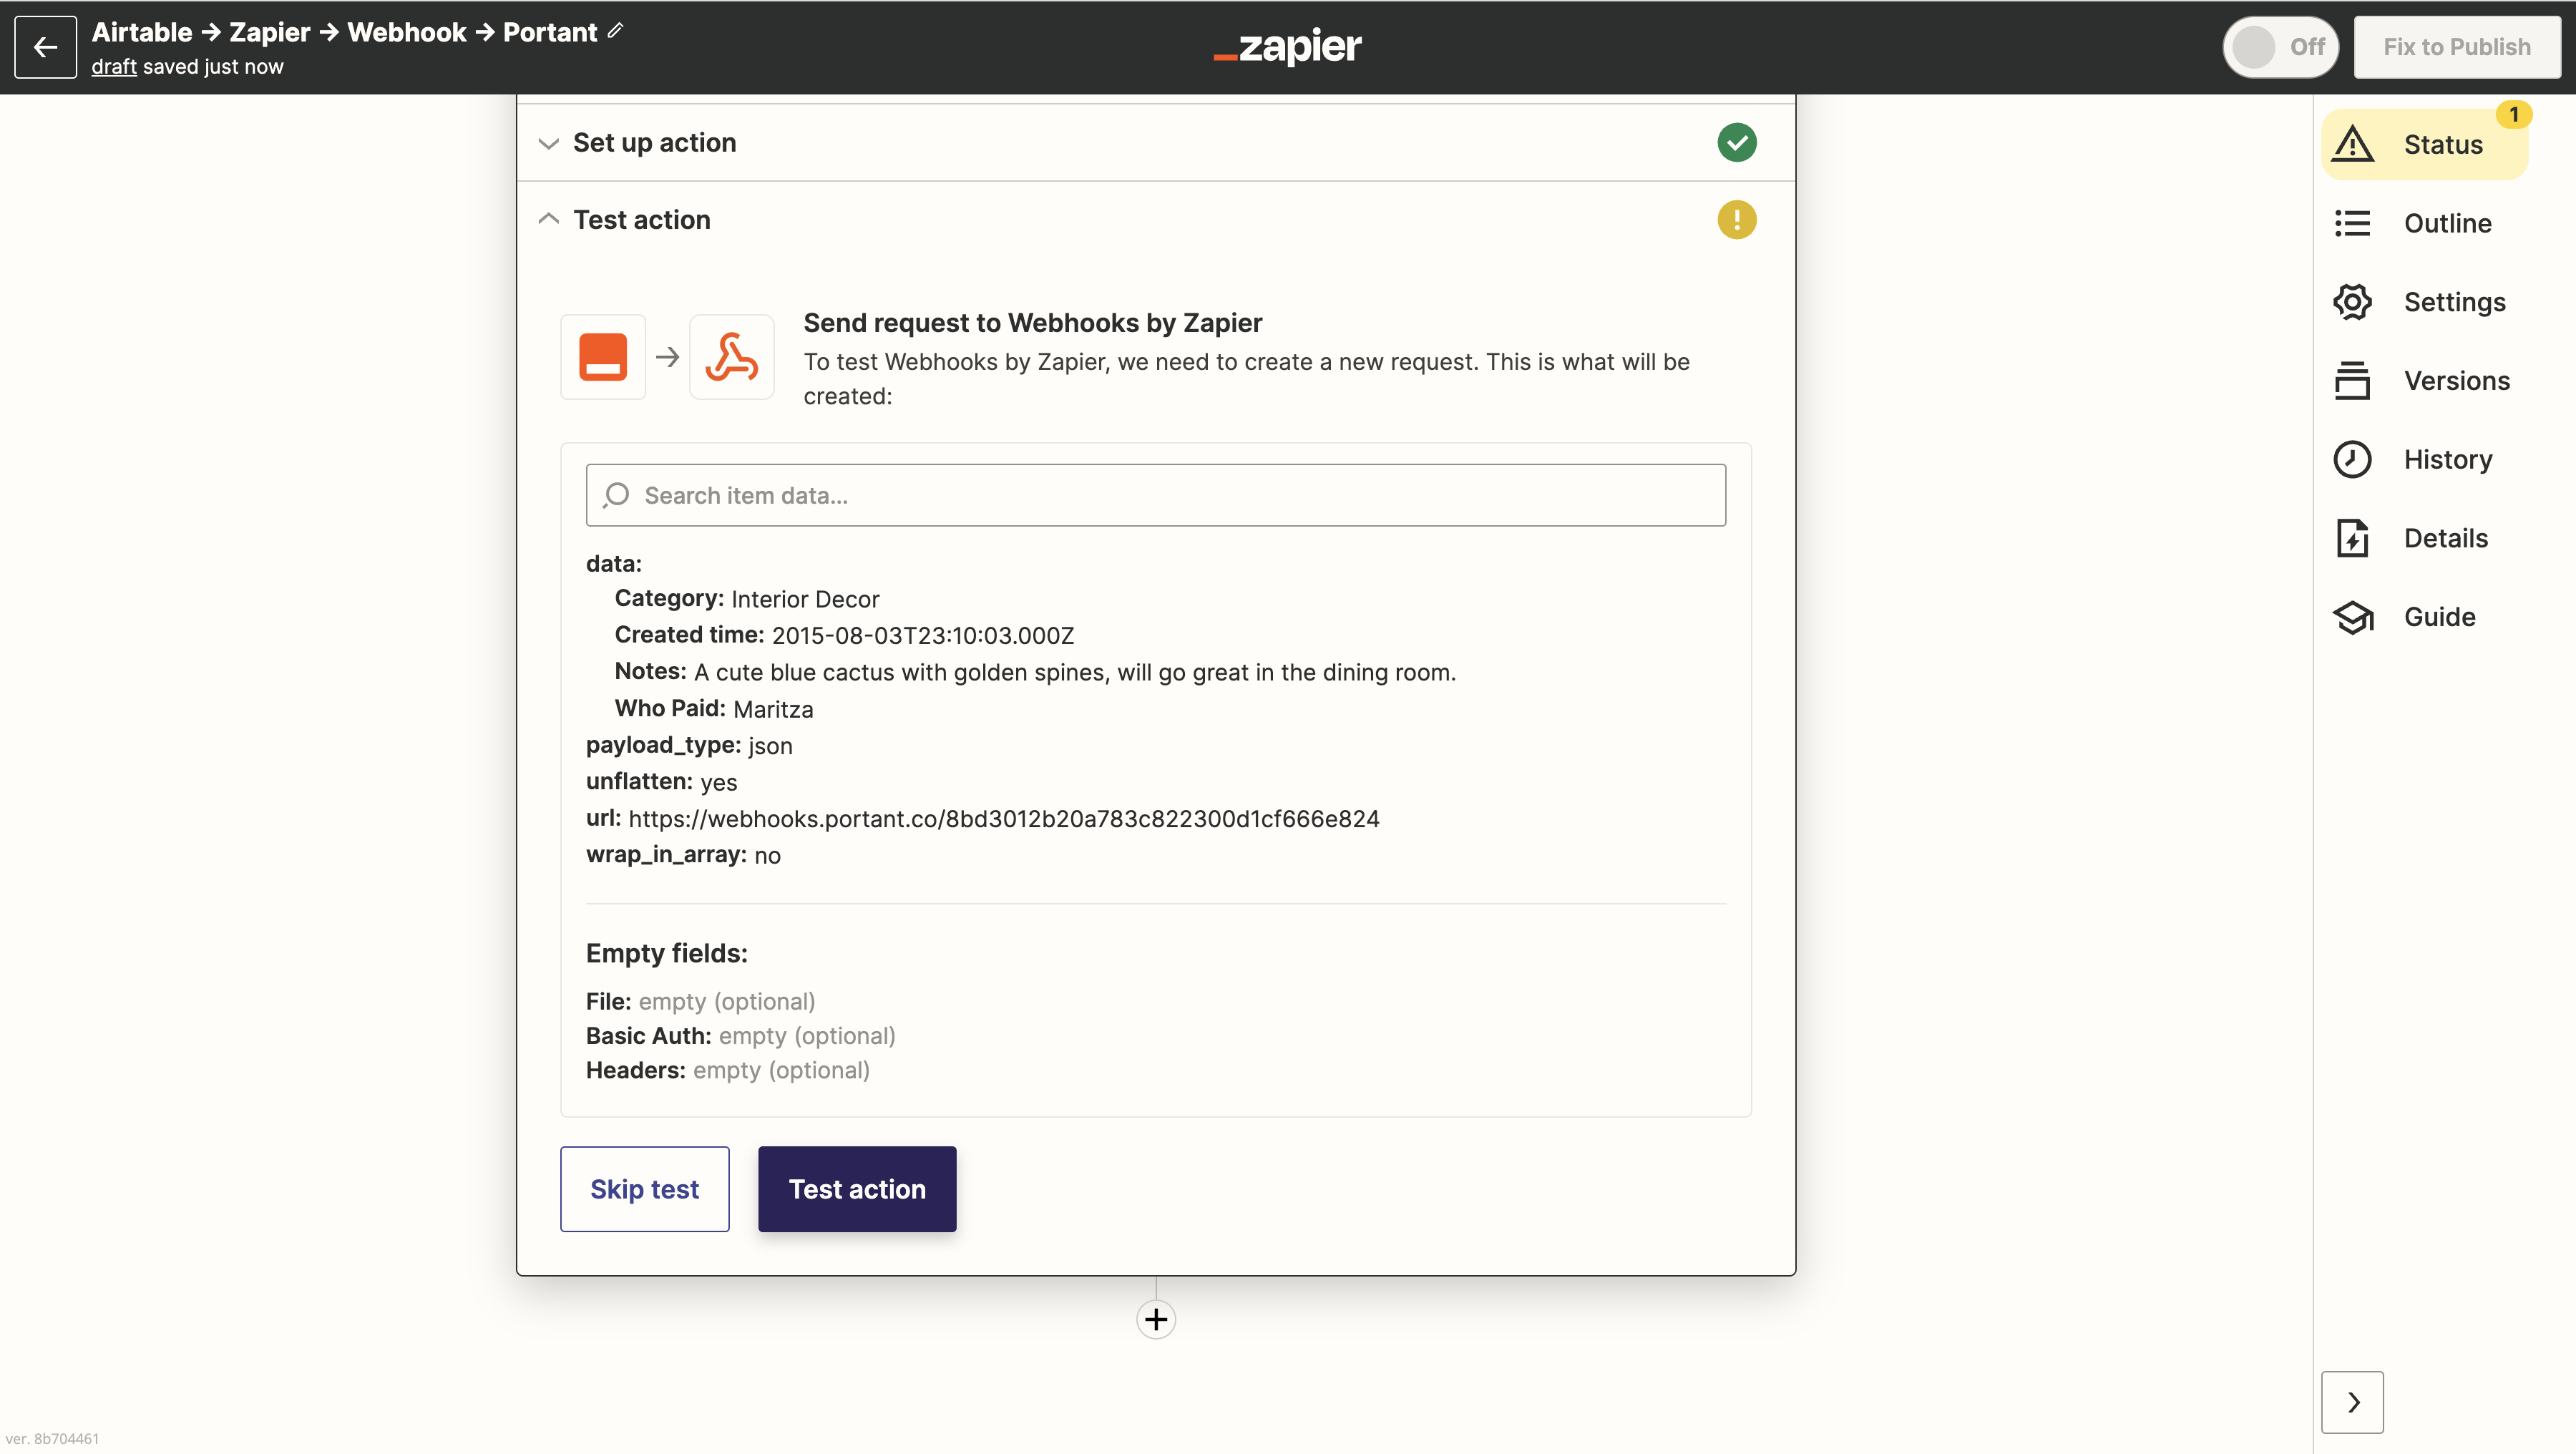
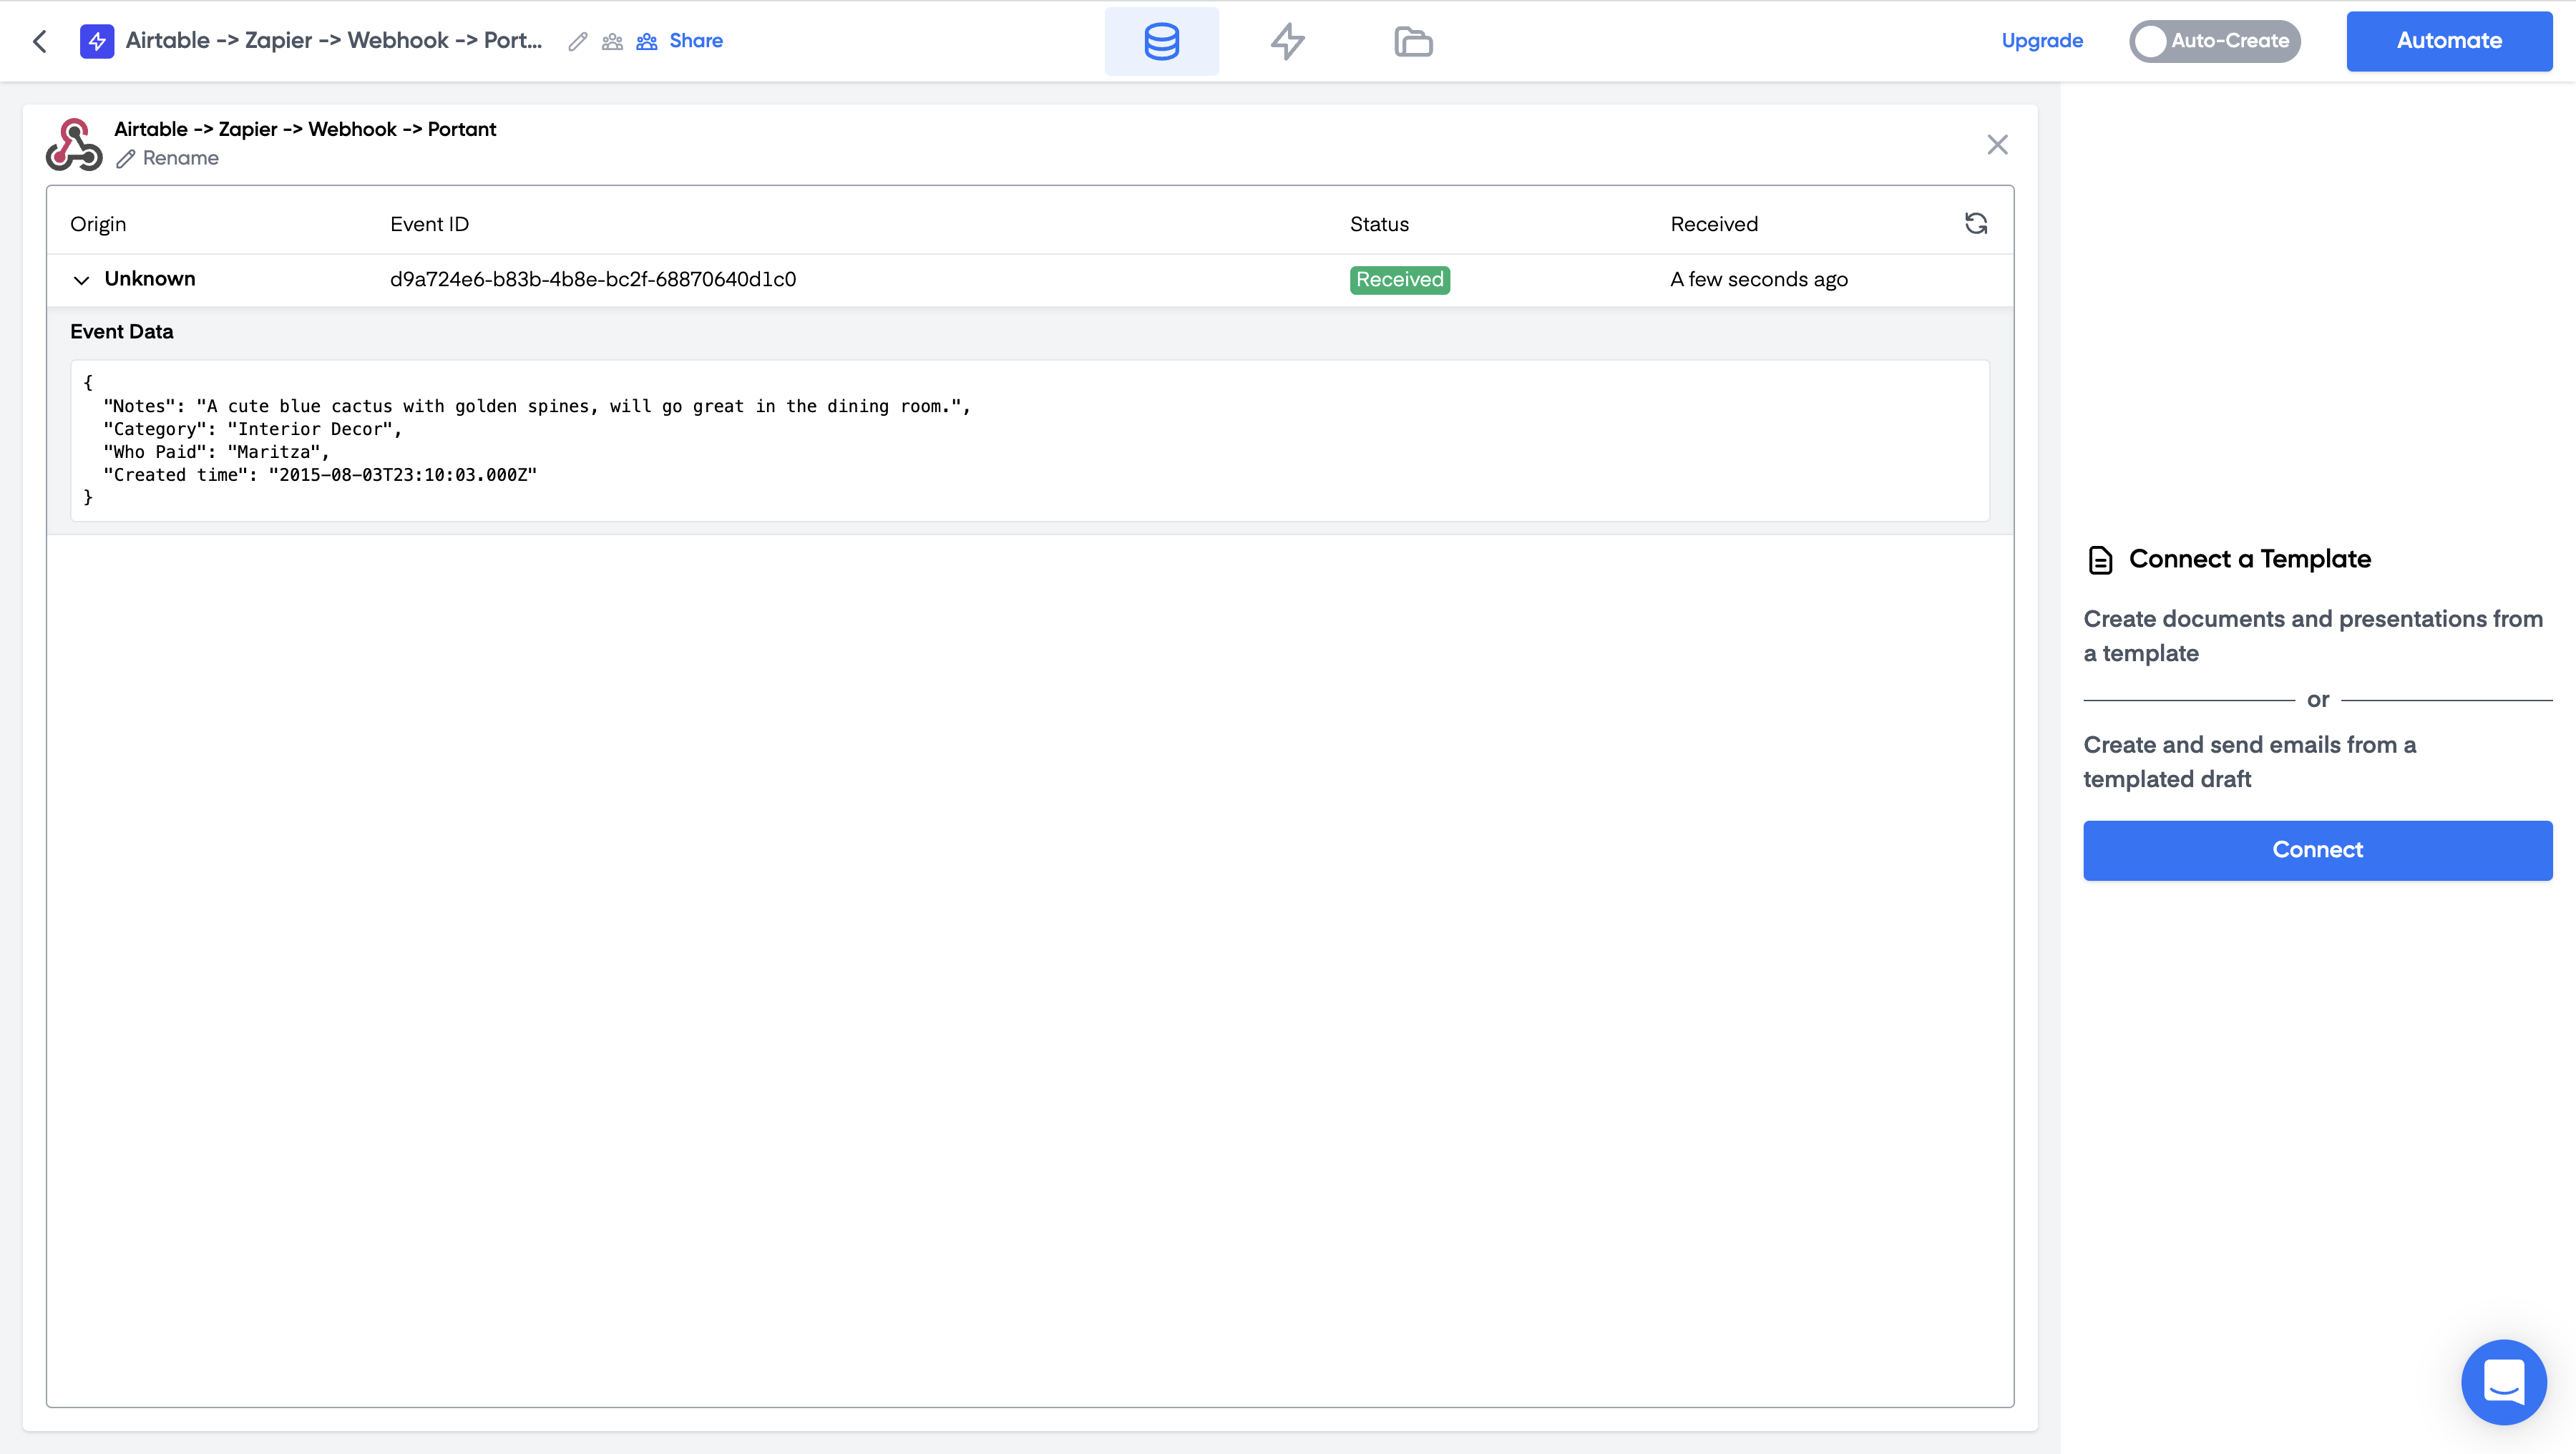
Zapier sends sample data to Portant. Back in Portant, click the refresh icon next to the webhook address and the sample data will appear in the source table:
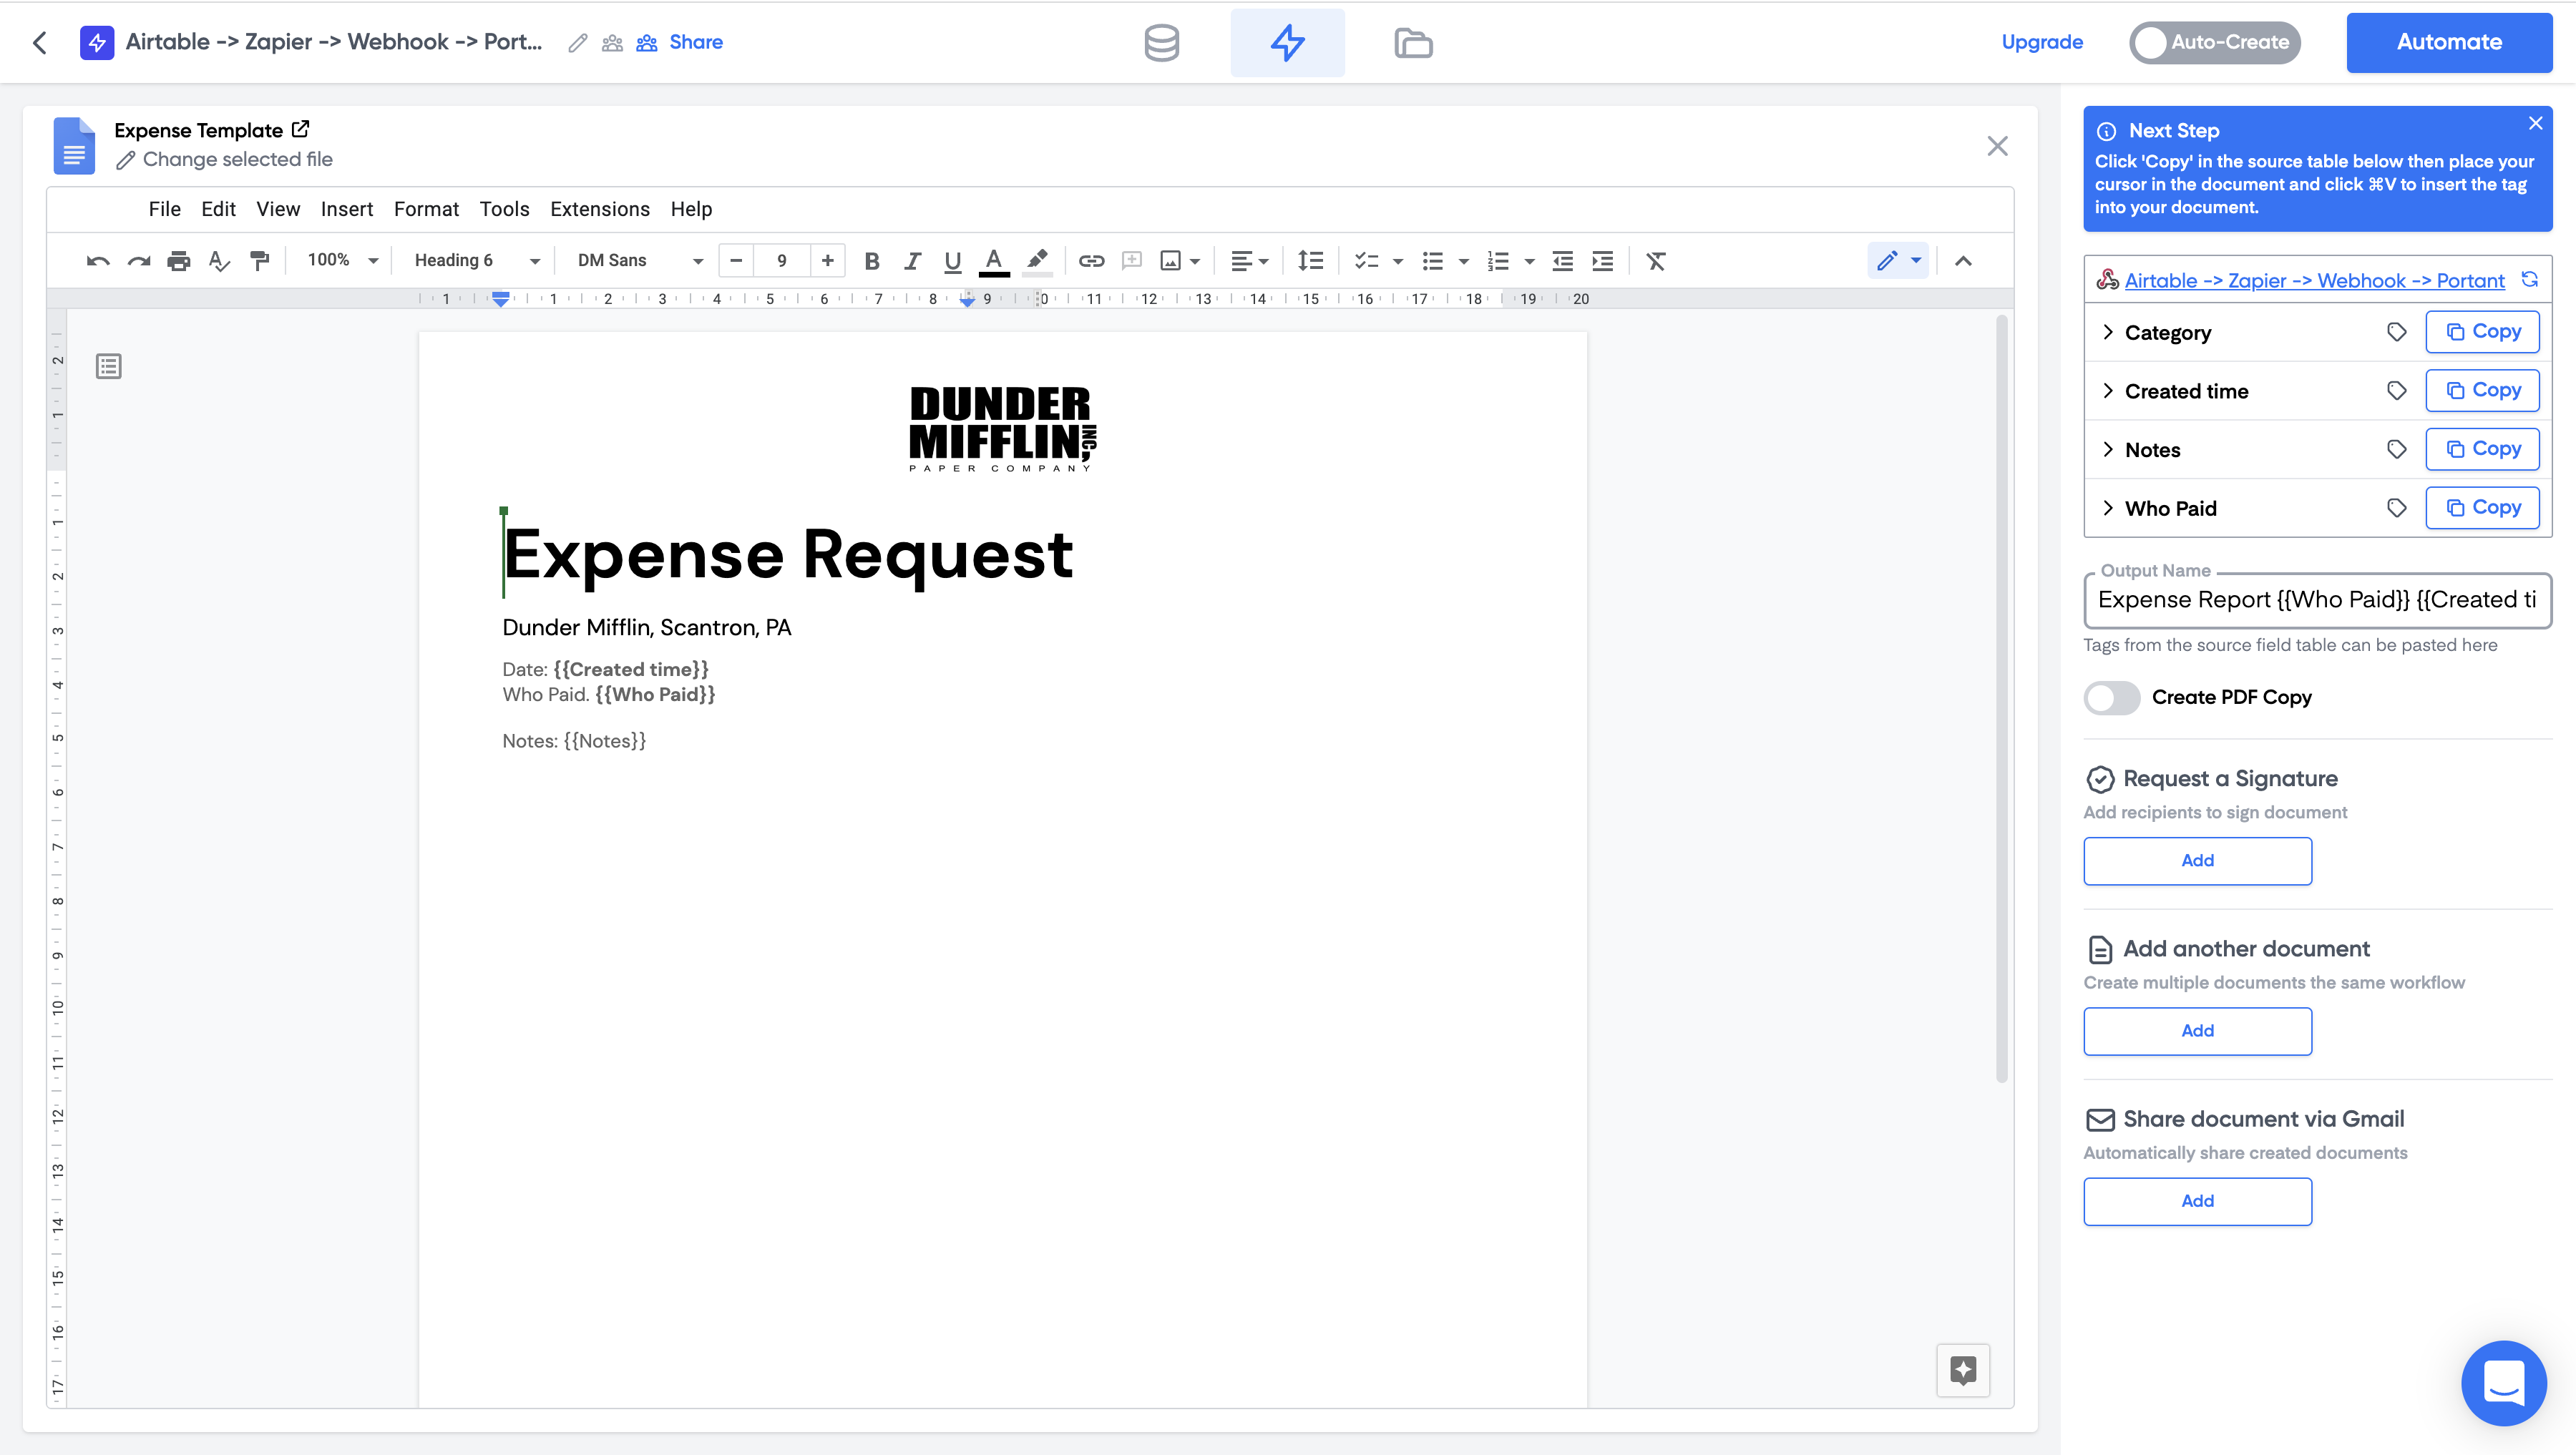
Step 5: build the document
Click Connect in the right panel and pick a Google Doc, Slide or email template (or create a new one). Drop tags from the source table into the template wherever you want the Zapier data to appear:
Step 6: turn it on
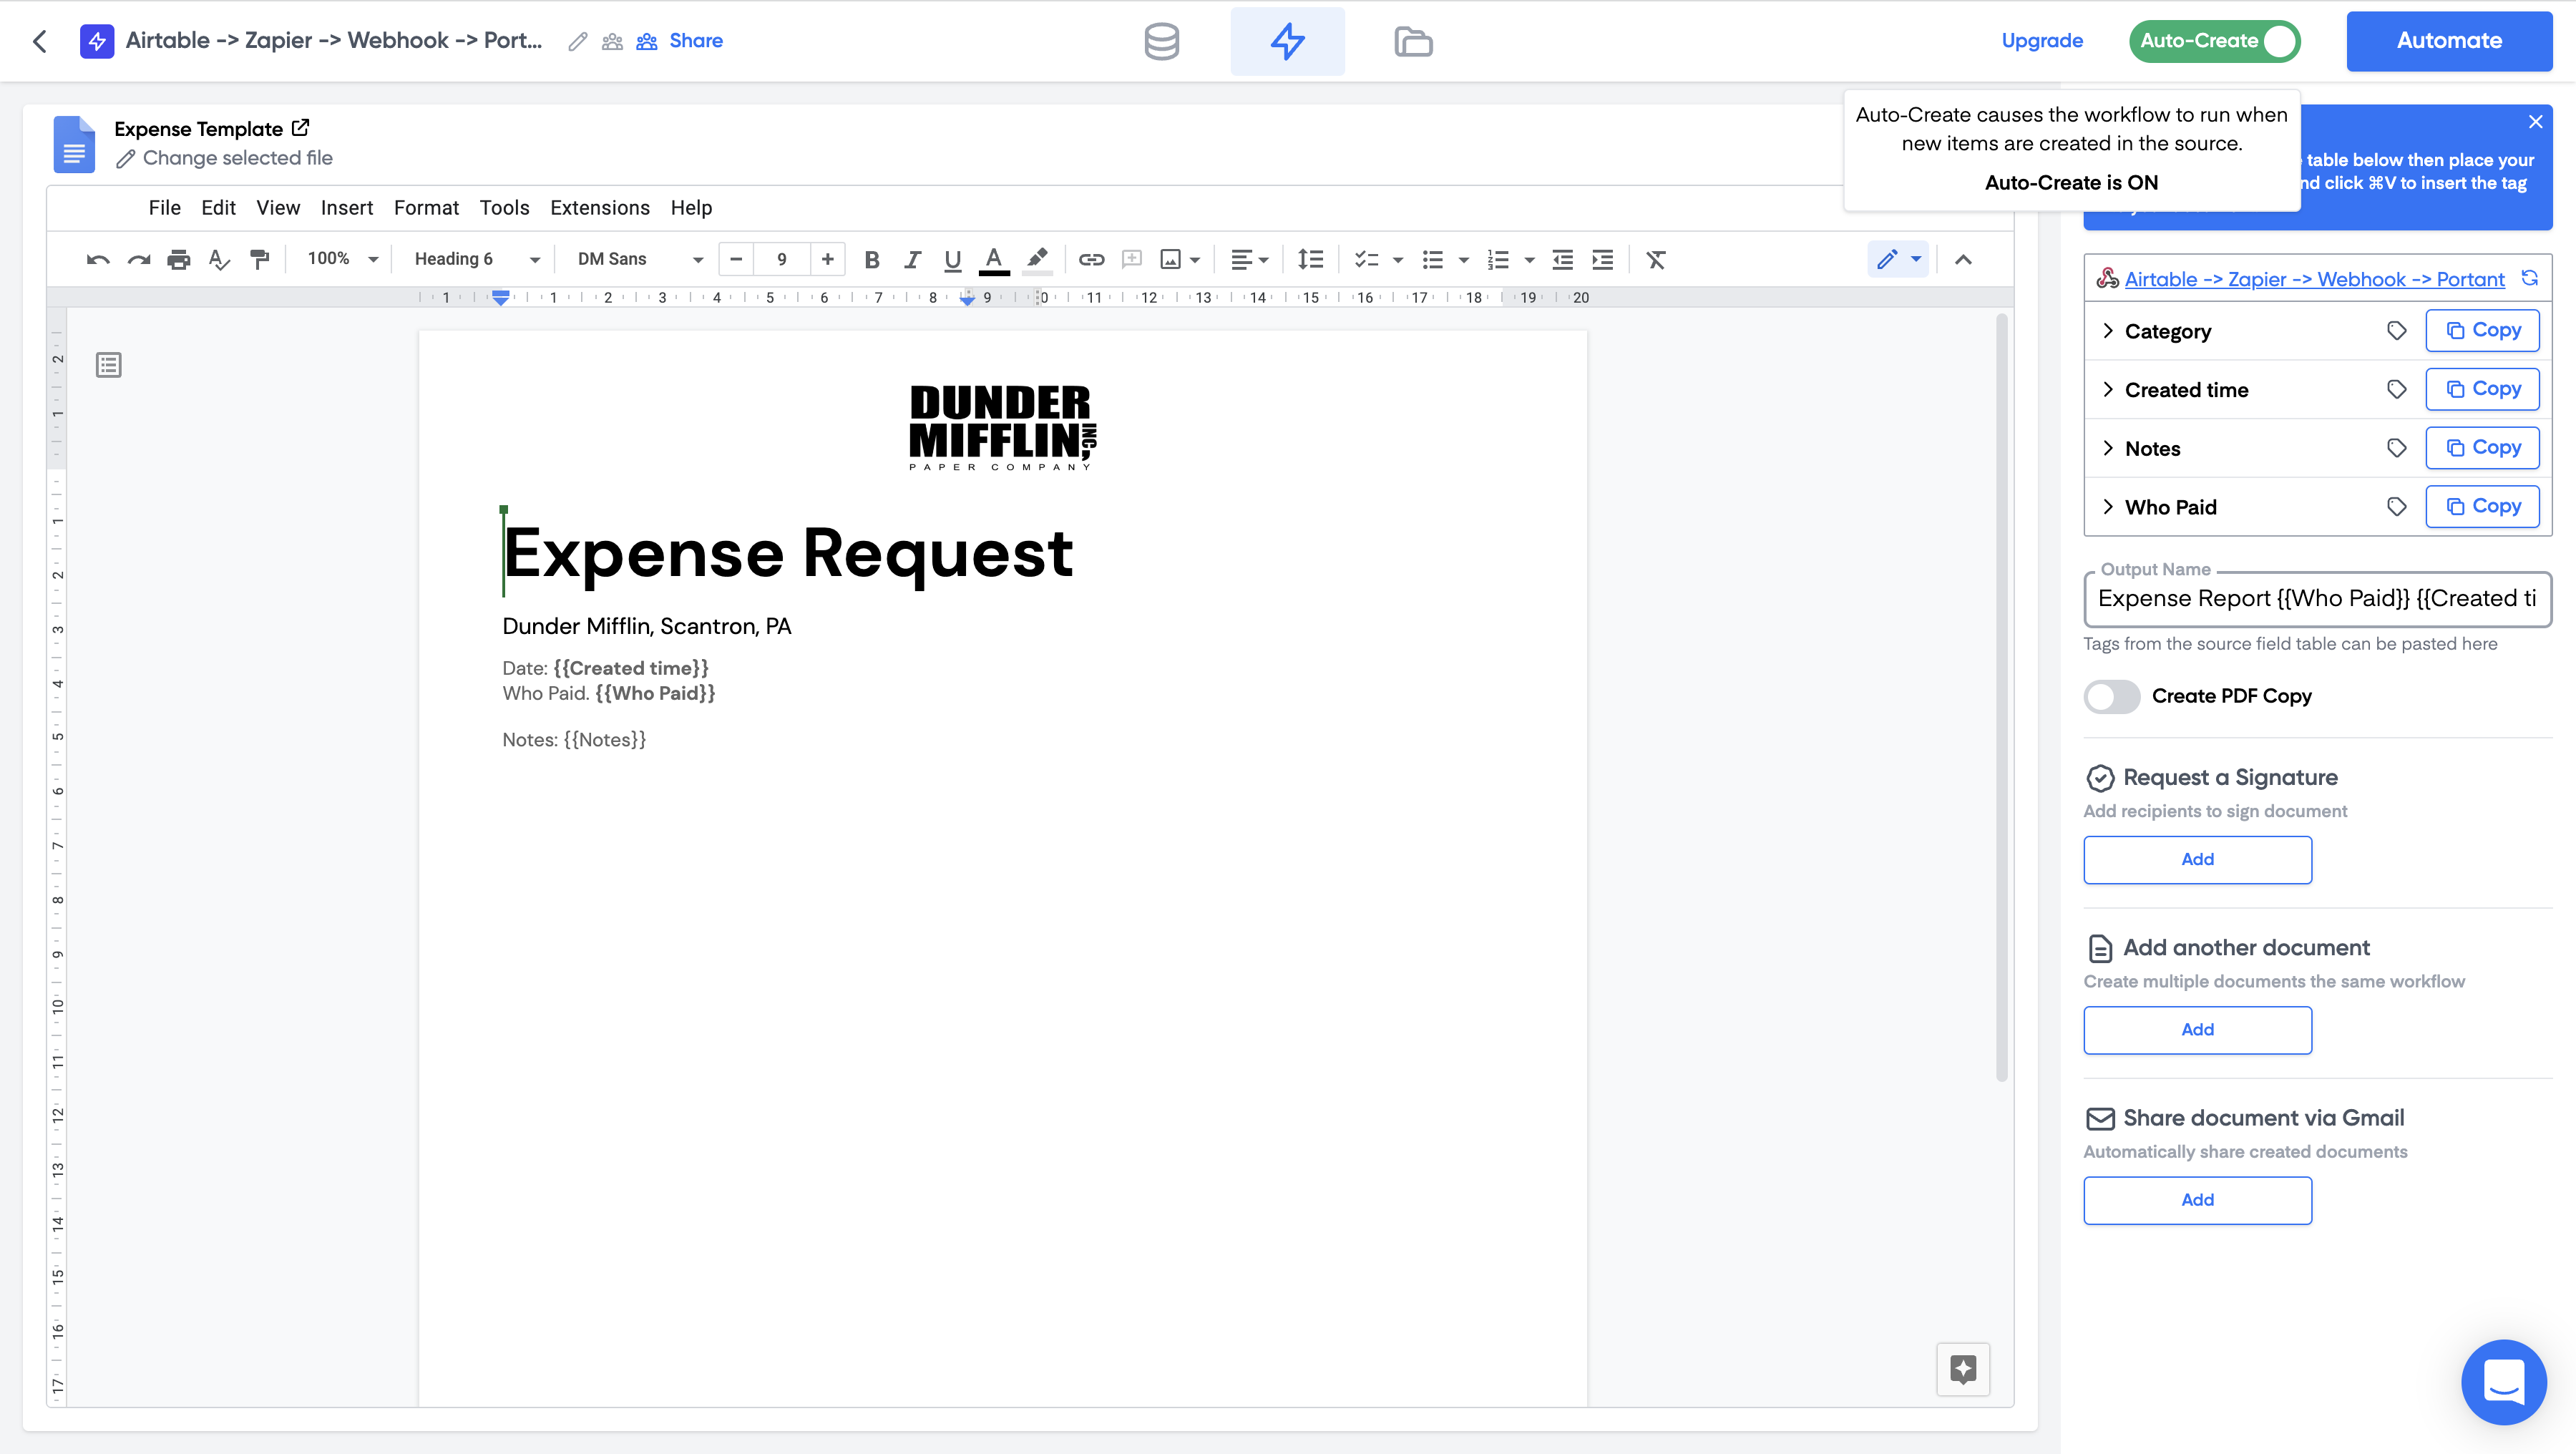
Set the file name and any other output settings. In Portant, turn on auto-create using the toggle in the top right:
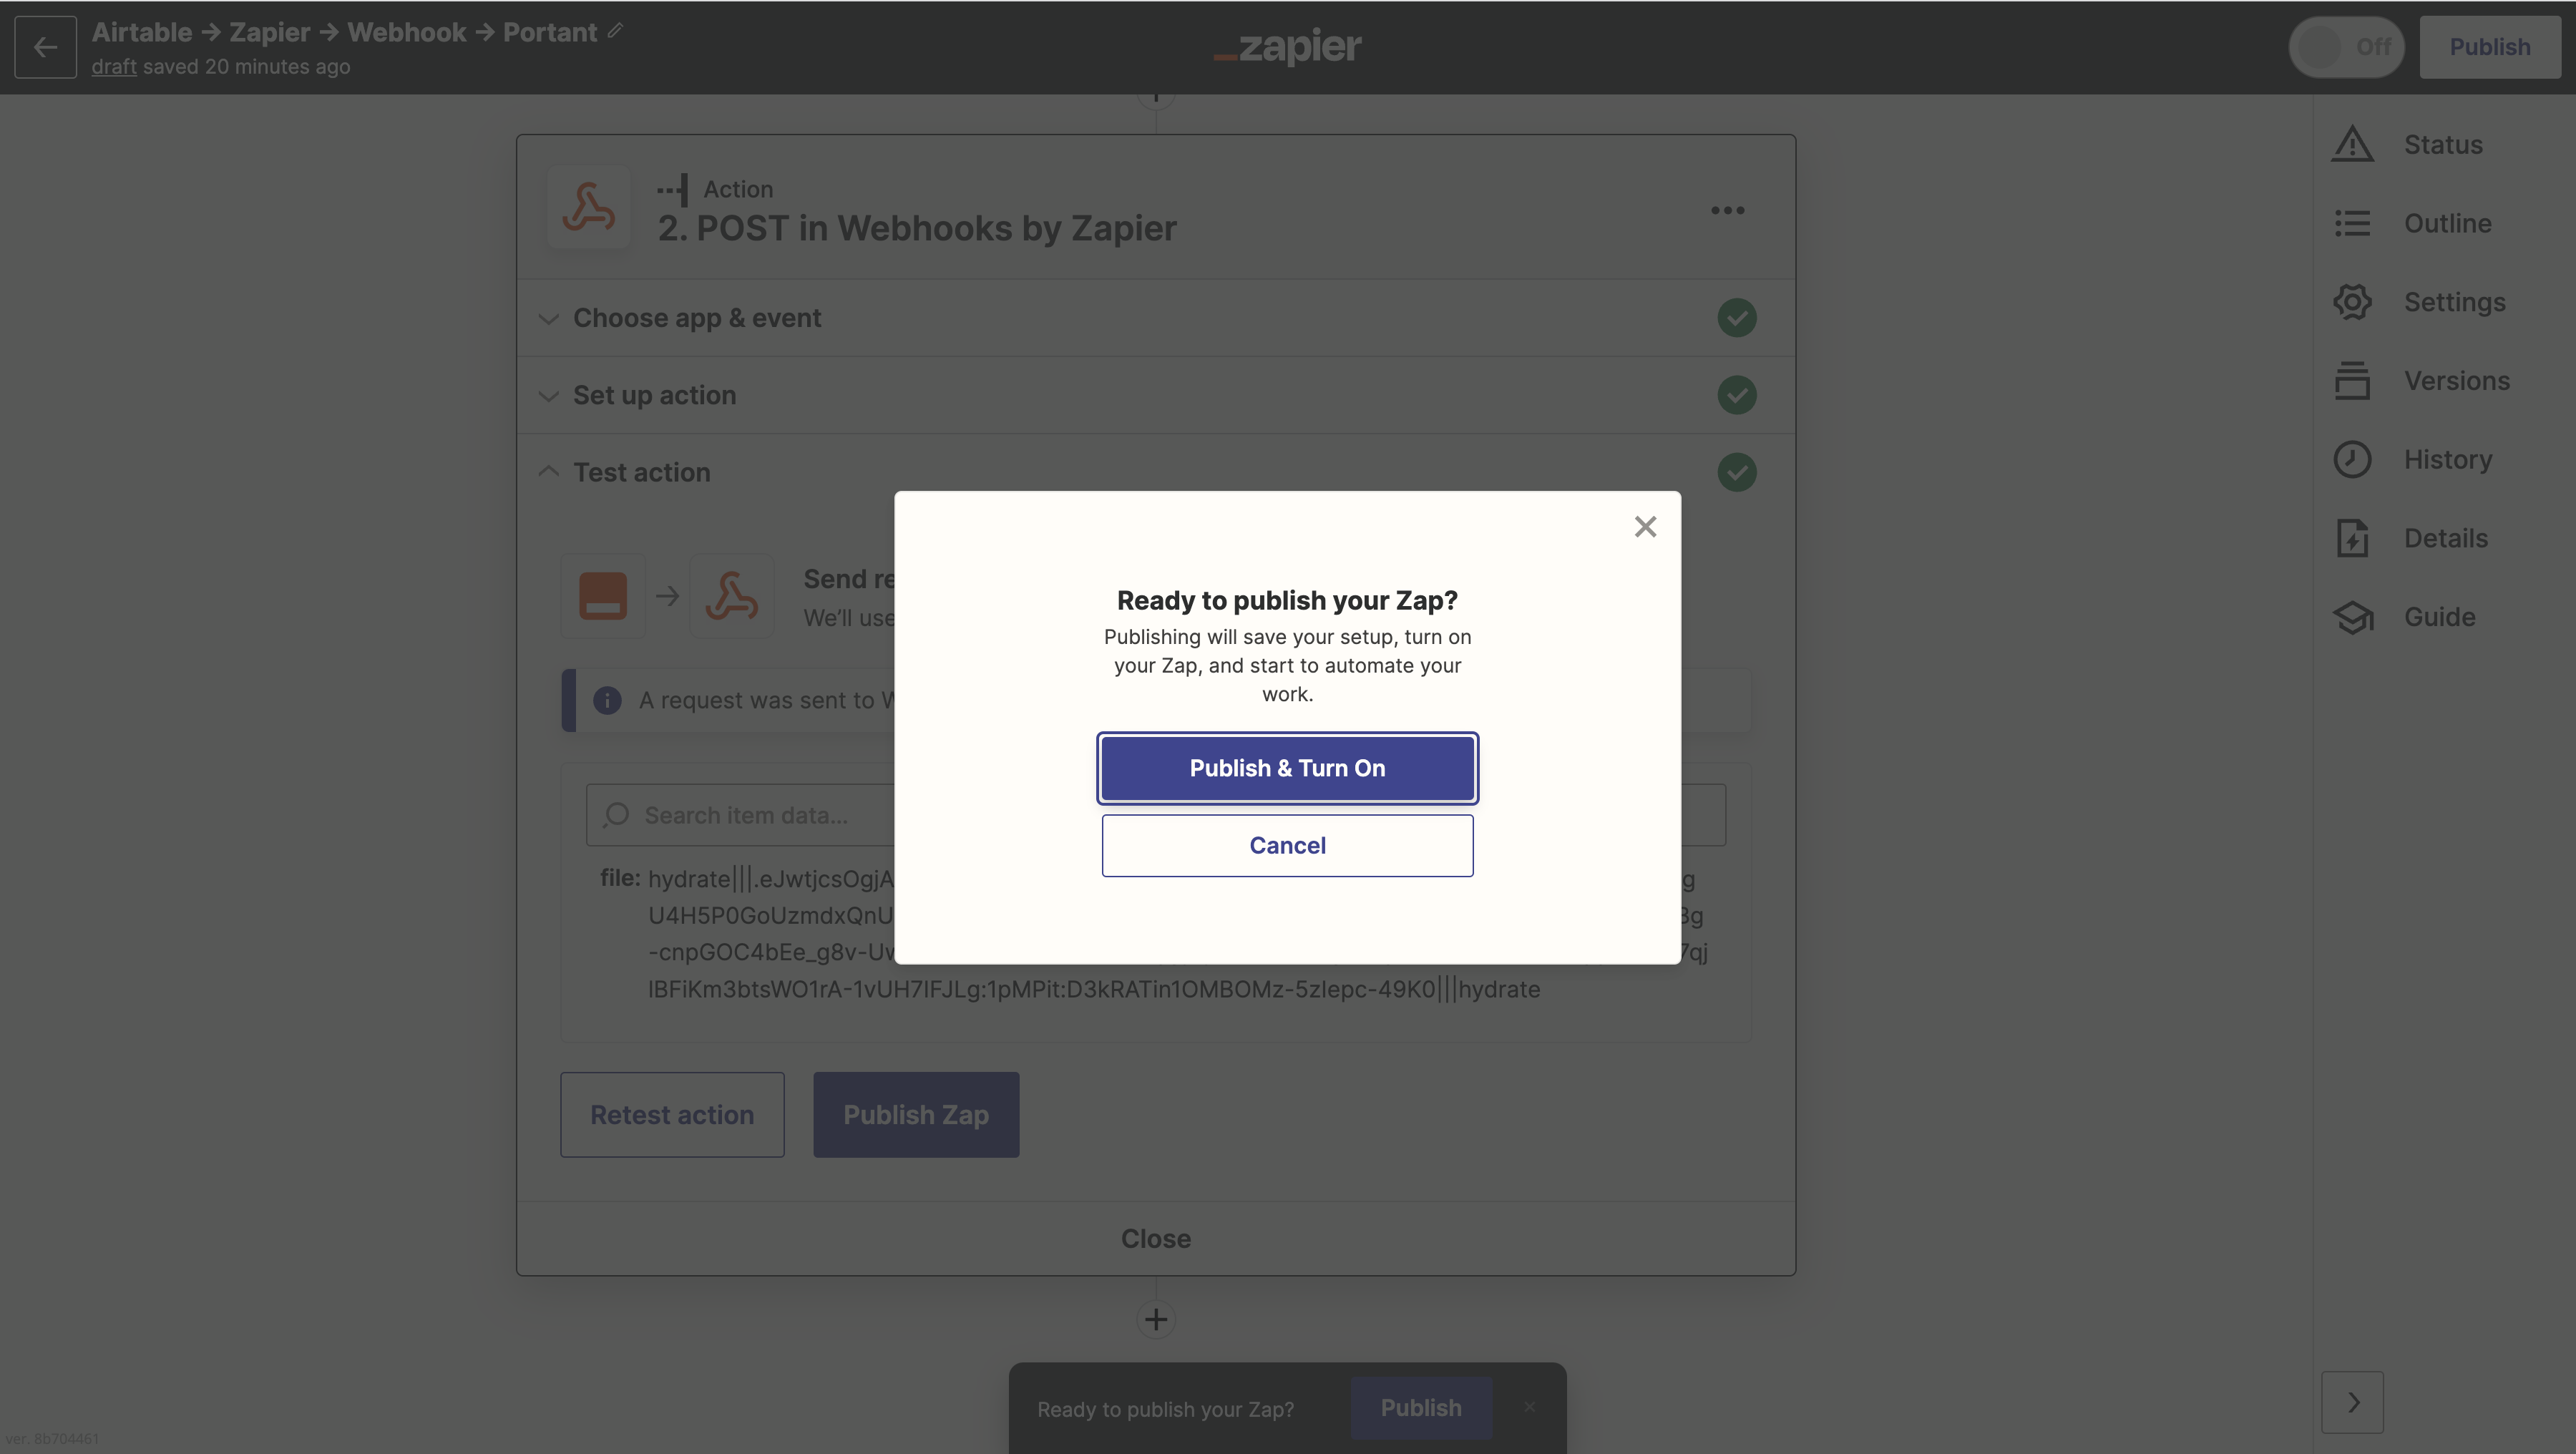
Back in Zapier, click Publish & Turn on:
That's it. The Zap will now create a document every time the trigger fires. Run a real test from the trigger app to confirm the whole flow works end to end.
Send documents back to Zapier
To pass a generated document back into Zapier (so it can go on to other apps), use Zapier's Email by Zapier or IMAP by Zapier triggers, which fire when an email arrives at a Zapier-generated address.
In Portant, add an email block. Put the Zapier email address in the To field and attach the generated documents. When Portant sends the email, the matching Zap will pick it up and you can hand the file off to wherever you need.
For Zapier's setup, see their trigger Zaps from new emails guide.