Tutorial: create a workflow
A worked example of using the Portant Developer API to create a workflow, run it via its webhook source, and listen for events when documents are created. All requests use cURL. Replace <DEVELOPER_ACCESS_TOKEN> with the token the Portant integrations team gave you.
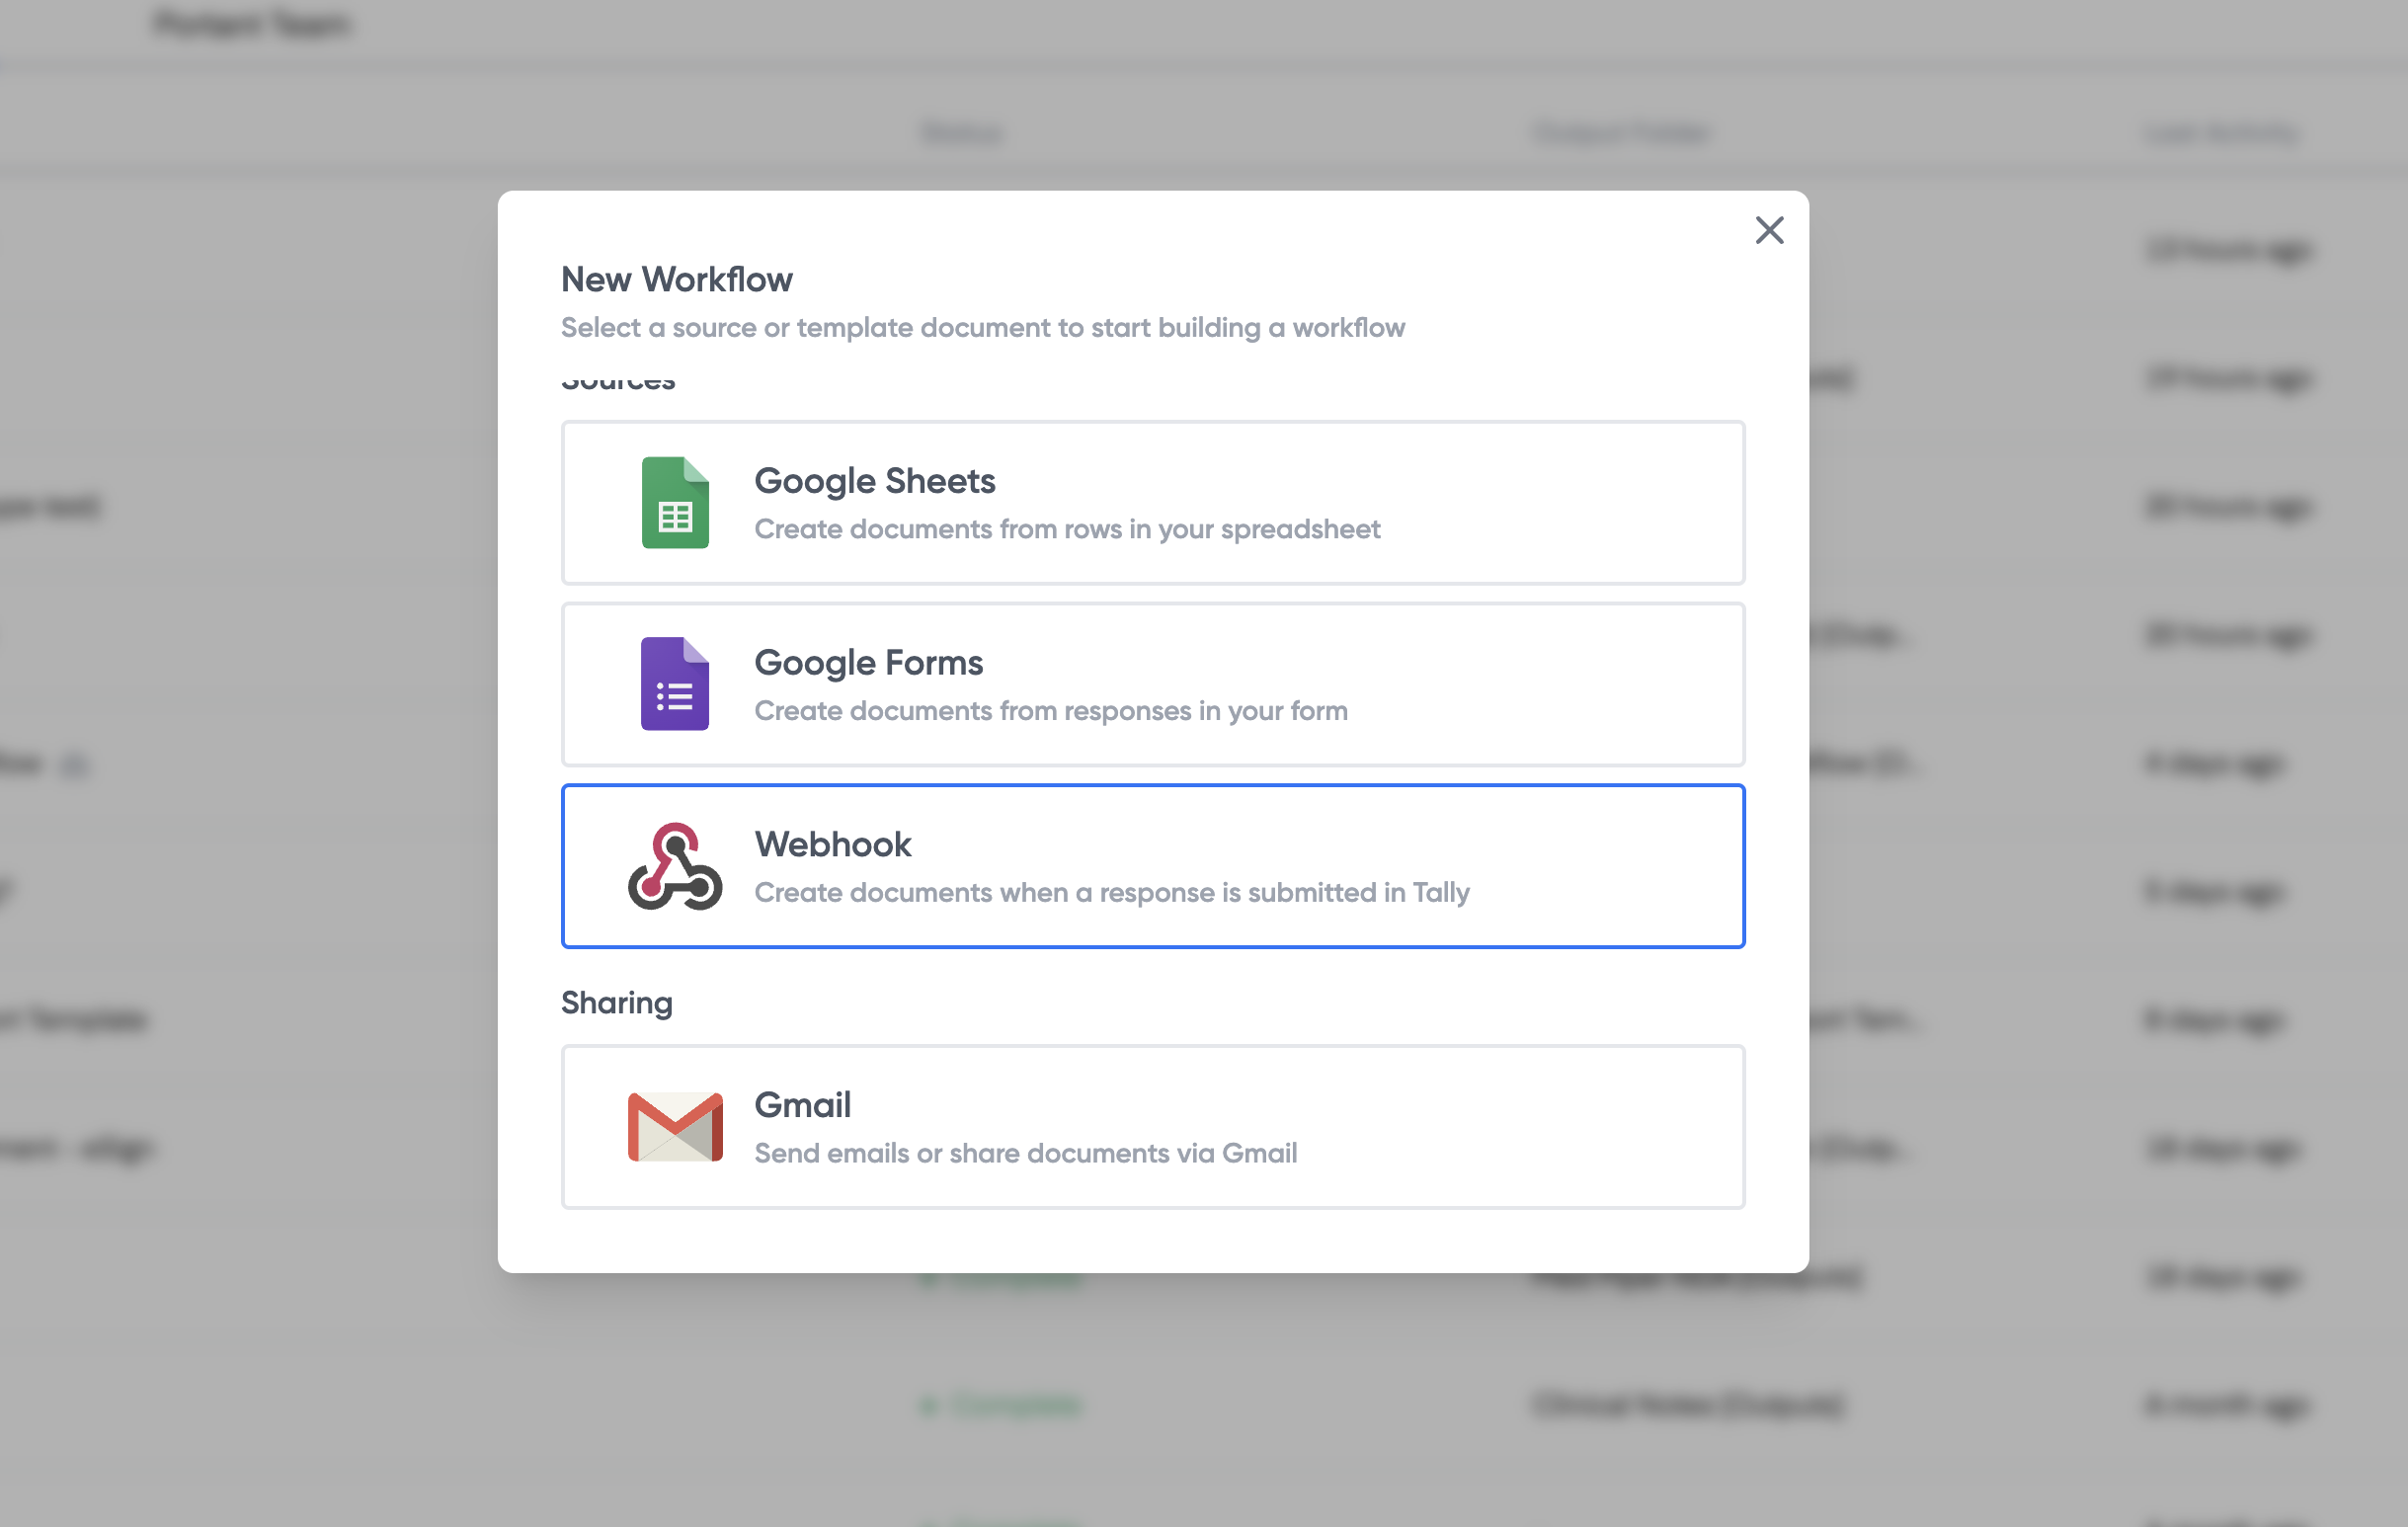
Tip: before you start, build and run a workflow in the Portant Workflow web app so you're familiar with how workflows work. We recommend a Google Docs template, which also confirms your account is correctly authorised with Google's APIs.
This tutorial assumes you've finished the steps in the Developers overview guide.
Step 1. Create a workflow
We'll name the workflow "Developer Workflow" and create it with the Workflows POST endpoint.
curl --location --request POST 'https://api.portant.co/v0/workflows/' \
--header 'Authorization: <DEVELOPER_ACCESS_TOKEN>' \
--header 'Content-Type: application/json' \
--data-raw '{
    "name": "Developer Workflow"
}'
A successful request returns 201 Created with a JSON body that looks like this:
{
    "id": "wkf_<id>",
    "name": "Developer Workflow",
    "icon": "DocumentText",
    "color": "#cccccc",
    "status": "INCOMPLETE",
    "autoCreate": true,
    "owner": {
        "id": "usr_<id>",
        "name": "Your Name",
        "email": "you@email.com"
    },
    "team": null,
    "source": {
        "id": "src_<id>",
        "sourceType": "WEBHOOK",
        "sourceFields": [],
        "webhookUrl": "https://webhooks.portant.co/<webhook_token>"
    },
    "documents": [],
    "outgoingWebhook": null,
    "createdByApi": true,
    "createdAt": "2024-08-13T17:49:28.639426+10:00",
    "updatedAt": "2024-08-13T17:49:28.659242+10:00"
}
Save the id value. You'll use it in the next requests.
If you open https://app.portant.co/w/wkf_<id>/ with that ID, you'll see your new workflow in the web app. Two fields matter most here: source.webhookUrl and status.
source.webhookUrl is the address you'll POST data to in order to start an automation once the workflow is complete. Save this too.
status is "INCOMPLETE" because the workflow has no template documents yet. A workflow needs both a source and at least one template to be runnable. We'll add a template next.
Step 2. Create a template document
To add a template, copy an existing Google Docs file into the workflow.
curl --location --request POST 'https://api.portant.co/v0/workflows/wkf_<id>/documents/' \
--header 'Authorization: <DEVELOPER_ACCESS_TOKEN>' \
--header 'Content-Type: application/json' \
--data-raw '{
    "file_id": "1frlTt7Jj8HuXWHkS9o0mshLaym6NQBImsAIhw4Iiew4"
}'
file_id is the ID of a file in Google Drive that you have access to. You can find a file's ID in its URL. The example ID above comes from this public Portant document, so you can use it for testing.
The response looks like this:
{
    "id": "doc_<id>",
    "documentType": "GOOGLE_DOCS",
    "file": {
        "id": "1MvPvT3cLilEw6ktXxjOYFUGrZH6JO8dm5Gpj8GExMcc",
        "name": "Developer Workflow - [Template]",
        "url": "https://docs.google.com/document/d/1MvPvT3cLilEw6ktXxjOYFUGrZH6JO8dm5Gpj8GExMcc/edit?usp=drivesdk",
        "mimeType": "application/vnd.google-apps.document"
    },
    "outputName": "Developer Workflow - {{Timestamp}}",
    "createPdfCopy": false,
    "removeOutput": false,
    "enablePdfPassword": false,
    "pdfPassword": "",
    "pdfPasswordPreventCopy": false,
    "previewUrl": "https://preview.portant.co/doc_LcQWshvjR9XLzQ"
}
A new template has been added to your workflow with a copy of the file you supplied. The document resource has a set of options that change how output documents are created. You can change them with a PATCH request to the Document endpoint.
If you GET the workflow again, the status is now "COMPLETE". Before we run the first automation, let's also wire up event notifications.
Step 3. Listen for automation events
To get notified when an automation runs, register an outgoing webhook on the workflow. For testing, you can spin up a temporary webhook at webhook.site.
curl --location --request POST 'https://api.portant.co/v0/workflows/wkf_<id>/outgoing-webhook/' \
--header 'Authorization: <DEVELOPER_ACCESS_TOKEN>' \
--header 'Content-Type: application/json' \
--data-raw '{
    "webhookUrl": "https://webhook.site/<token>"
}'
You'll get a 201 Created response with the URL you registered. The workflow is ready to run.
Step 4. POST data to the webhook source
To start an automation, POST a JSON body to the workflow's webhook source URL (the one returned in Step 1).
curl --location --request POST 'https://webhooks.portant.co/<webhook_address>' \
--header 'Content-Type: application/json' \
--data-raw '{
    "Name": "Jeremy the Koala"
}'
The endpoint returns 200 OK with an empty JSON body. Within a minute, your webhook.site inbox should show an event with a link to the new document in your Google Drive.
In the Portant Workflow web app, the new output also appears in the workflow's outputs page. That's it: you've created and run your first workflow through the Developer API.
For details on every endpoint and resource, browse the rest of the API reference. If you have questions or feature requests, get in touch with the customer success or integrations team.
(And yes, Jeremy is the Portant mascot. 🐨)