Data merge
Data Merge is the original Portant Google Workspace add-on. It runs inside Google Docs, Slides, Sheets, and Forms, and lets you connect a sheet, form, or Trello board to a template, add tags, and produce documents in bulk.
This is the legacy add-on flow. If you're starting from scratch today, the modern source-based workflow in the Portant web app supports more sources (HubSpot, Pipedrive, Webhooks, and others) alongside Sheets and Forms. The add-on is still maintained and a great fit if you want to do everything from inside Google Workspace.
This guide walks through the full setup:
- Install and open the add-on
- Connect a source
- Add tags to your template
- Edit the data merge settings
- Customise the output documents
- Share output documents via email
- Start the merge
Step 1: Install and open the add-on
Install the add-on on your Google Workspace account.
Click Add-ons > Get Add-ons and search for "Portant Data Merge", or use this direct link.
Click Portant Data Merge and select Install.
Google will ask you to continue, then to pick which Google account you want to install on.
Google will also list the permissions Portant needs. Here's what each one is for, in plain English:
- See, edit, create and delete all of your Google Drive files, so we can create new folders and files in your Drive. We never delete anything.
- View and manage your Google Slides presentations, so we can insert tags into the presentation you have open.
- See, create and edit all Google Docs documents that you have access to, so we can insert tags into the document you have open.
- See, edit, create and delete your spreadsheets in Google Drive, so we can read your sheet data and place it into created documents.
- View and manage your forms in Google Drive, so we can read responses and place them into created documents.
- Connect to an external service, so the add-on can talk to our servers.
- Allow this application to run when you are not present, so automations can run when you don't have the app open.
- Display and run third-party web content in prompts and sidebars inside Google applications, so we can show the add-on UI inside Google.
Click Allow, then Done, and close the marketplace window.
Open the add-on
Click Add-ons > Portant Data Merge > Start.

Step 2: Connect a source
When you open the add-on, the home screen shows the sources you can connect to.
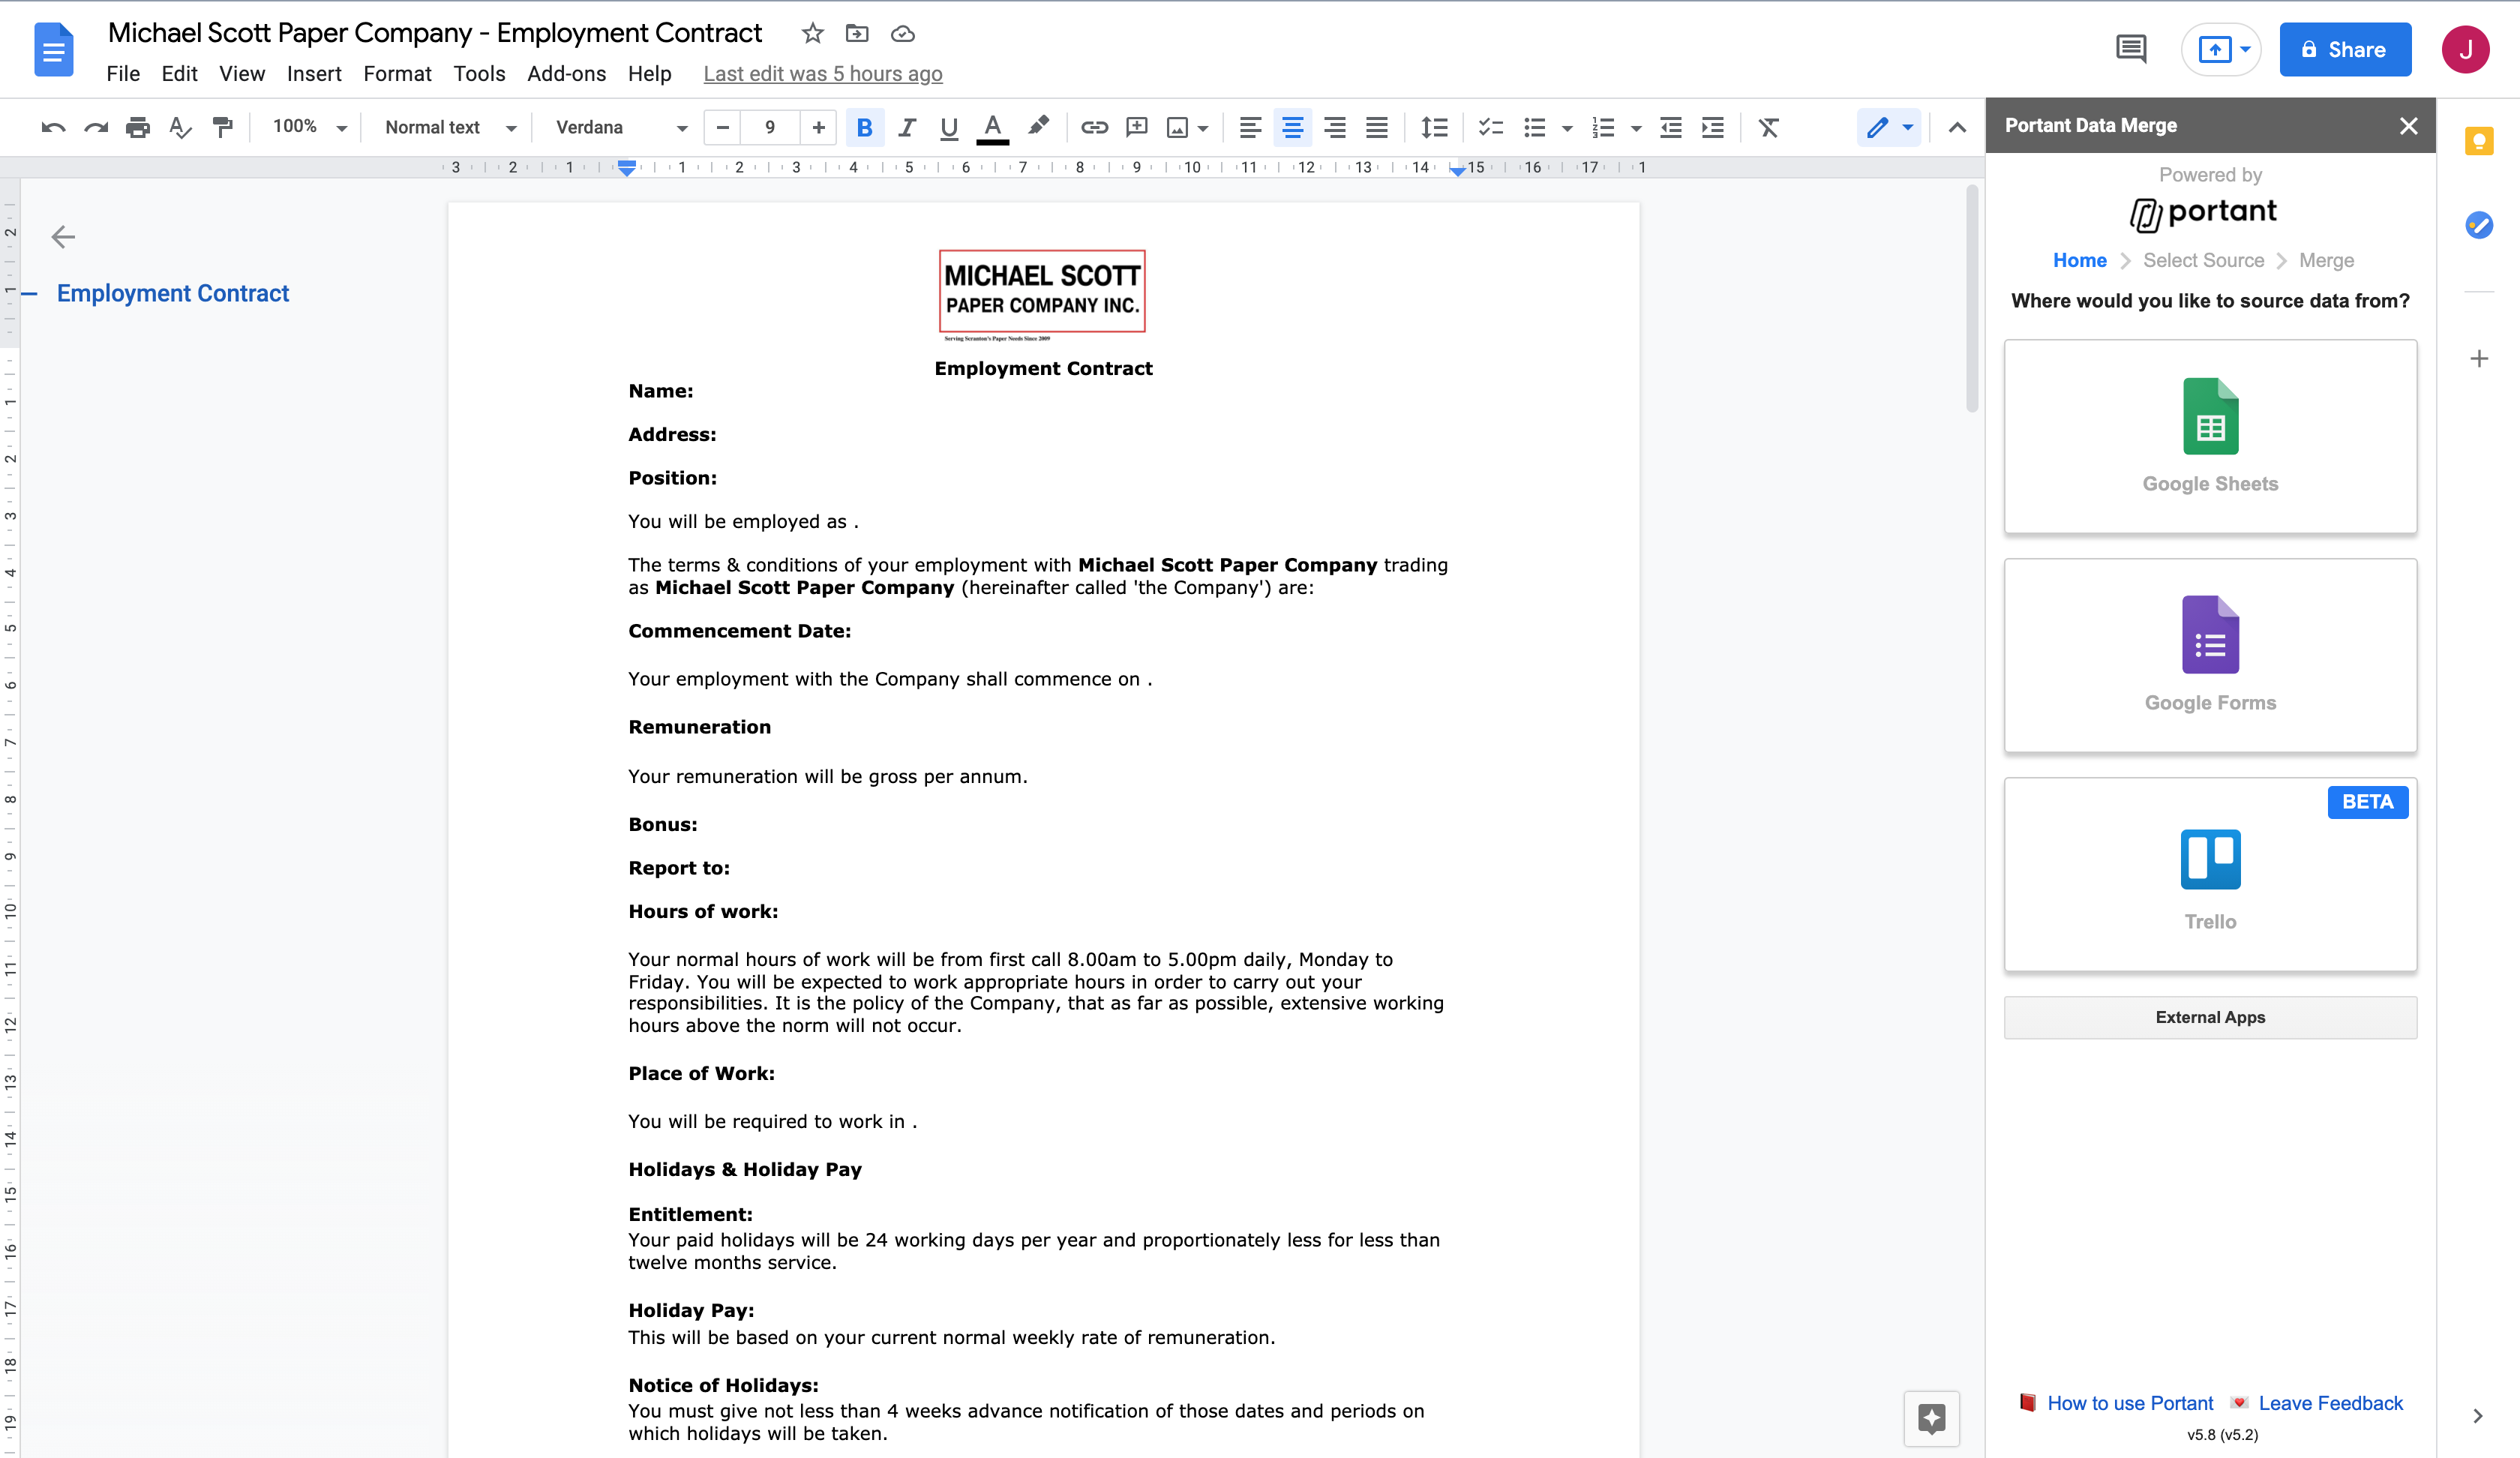
Pick the source that fits your use case:
- Google Sheets, best when you already have a dataset to create documents from.
- Google Forms, best when you want to create a document each time someone submits a form.
- Trello, useful if you're driving documents from a kanban workflow.
Tip: If the integration you need isn't here, click External Apps at the bottom to vote on integrations you'd like us to add.
Connect and set up your source
Each source has its own setup steps:
Pick the file or board you want to connect and click Continue.
Step 3: Customise your template
Once you've connected a source, Portant imports the column headers, questions, or card fields into a table. We call this the Data Source Table. Each column, question, or field shows up as a row.
Source table header
- File name, click it to open the source in a new tab.
- Refresh, refresh the rows after you've added or renamed a column, question, or field.
Add a tag to your template
- Place your cursor in the document where you want the tag to appear.
- Click the Insert button next to the tag in the Data Source Table.
- Portant inserts the tag inside curly brackets, like
{{Tag}}.
Tip: Format the tag in the document exactly how you want the data to look (size, colour, font). Portant will keep that styling when it inserts the value.
Note: Missing field values are replaced with blanks in the output.
Edit a tag name

To shorten or rename a tag:
- Click the source row to open the options.
- Type the new name into the text box.
- Press enter or click the row again. The tag icon turns solid blue when the name is saved.
Note: Tag names need to be unique across the source.
Add an image
- Click the source row to open the options.
- Tick Insert as image. The tag icon changes to an image icon.
- Click Insert to add a placeholder image.
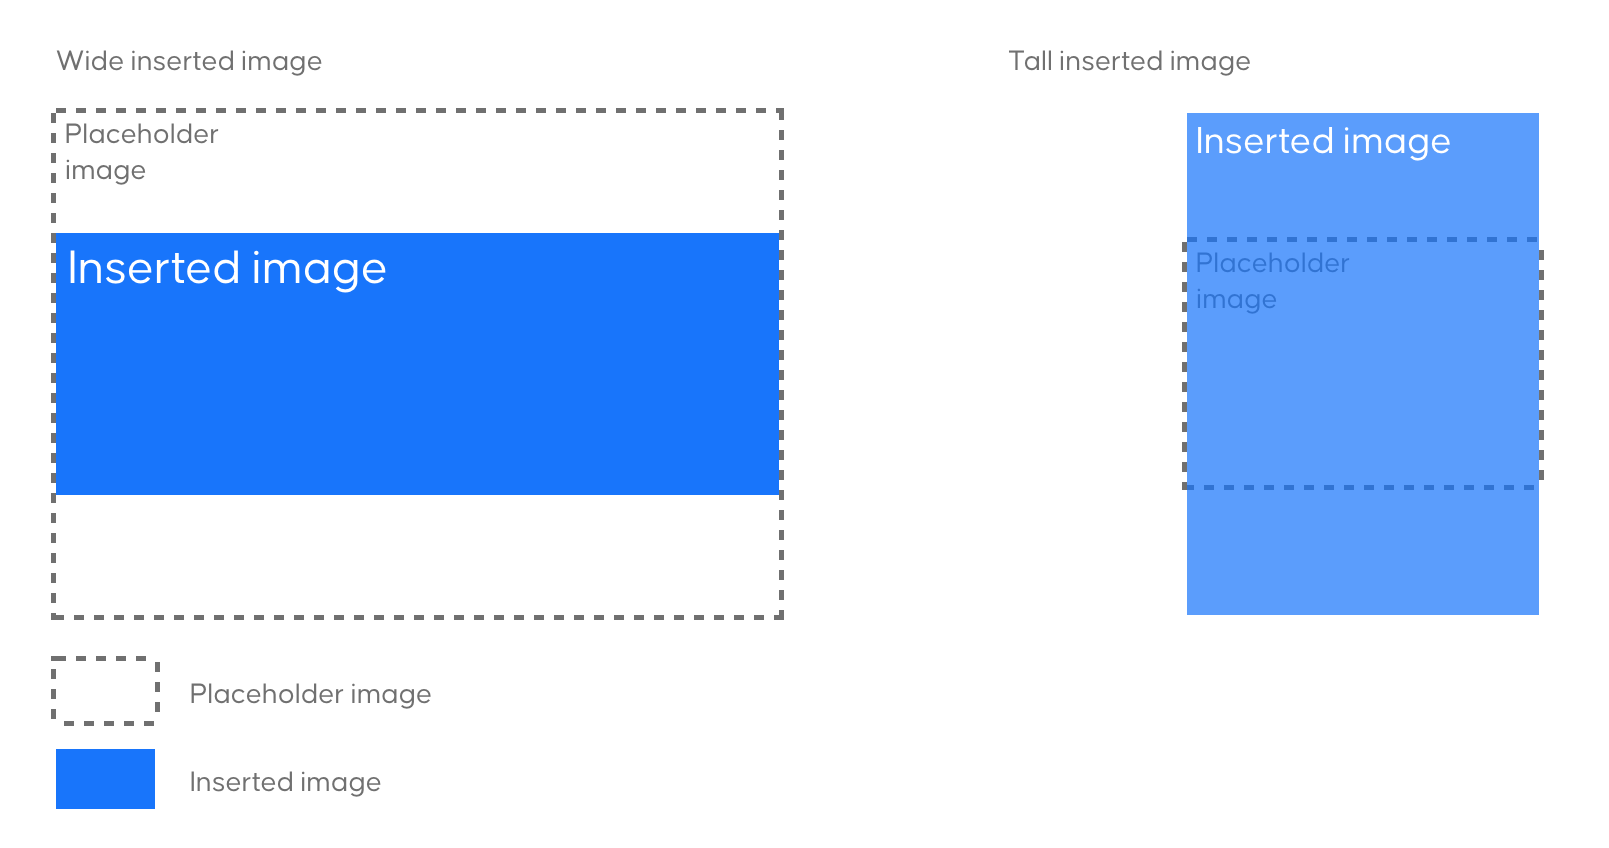
- Move and scale the placeholder where you want the image to appear. Portant will keep the source image's aspect ratio.
Note: Supported formats are .jpg, .jpeg, .png, and .gif.
Inserted images keep their original aspect ratio. If a source image has a different ratio to the placeholder, Portant scales the height to fit while keeping the placeholder width.
Portant supports these image sources:
- Any public image URL
- Any Google Drive image URL you have access to
- Any image uploaded via Google Forms
Note: When using a Form to collect images, Portant inserts one image per question. If multiple images are uploaded, only the first is used. You can limit uploads to one in form settings.
Step 4: Data merge settings
Once your tags are in, set up how the merge will run and which rows it should use.
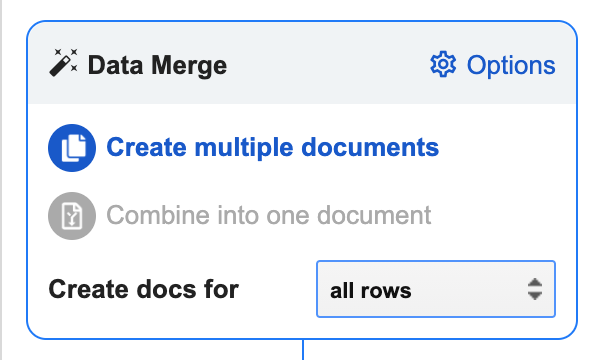
The main settings sit on the front of the Data Merge box. Advanced options live in the menu in the top-right corner. Each source has its own settings page:
Step 5: Output document settings
Customise the name, type, and location of the output files. The Output Document box sits below the Data Merge box.
Change the file name

In multiple-document mode, you can use {{tags}} in the file name so each output gets a different name. Either paste the tag in, or place your cursor in the file name field and click Insert in the data source table.
Create PDF copies (Pro)
PDF output requires Portant Pro. Click the Pro icon and add your payment details to enable it. The same upgrade also removes Portant branding from emails.
Once Pro is on, tick Create PDF documents. Portant will create a PDF subfolder inside your output folder and save a PDF copy of every document.
Tip: You can rename or move the output folders inside Google Drive. Portant remembers where they are. If you delete the folder or move it to trash, Portant will create a new one with the same name.
Open the output folder
The Output Document box has a link to the output folder in the top-right corner. That's where Portant saves your documents.
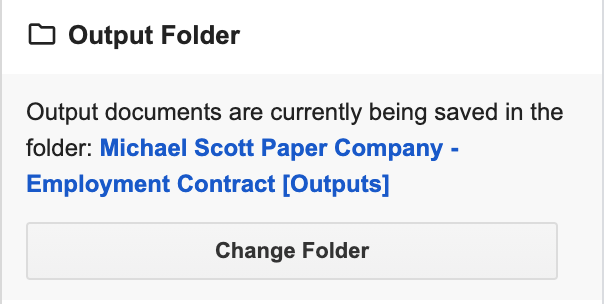
Change the output folder
To save outputs somewhere else, open the Options menu in the top-right of the Data Merge box.
Scroll to the Output Folder section and click Change Folder. Pick the new location.
Step 6: Share documents via email
Each merge can email your output documents to specific people automatically.
Set up an email
In the Share via email box (under Document outputs), tick Automatically email created docs. The email modal will open.
You'll see the standard email fields (To, Subject, Body) on the left, and source tags, attachments, and sending conditions on the right.
To. If a tag includes "email" in its name, Portant places it in the To field for you. You can add other addresses, and you can add multiple tags.
Subject. Use {{tags}} to personalise the subject line. Place your cursor in the field and click Insert next to the tag you want.
Body. Same idea. Place your cursor in the body and insert the tags you want.
Portant branding. Free emails include "via Portant Data Merge" in the sender name and a Portant footer at the bottom. Portant Pro removes both.
Tip: Emails are sent through your Gmail account, so you'll see them in your Gmail Sent folder.
Email attachments
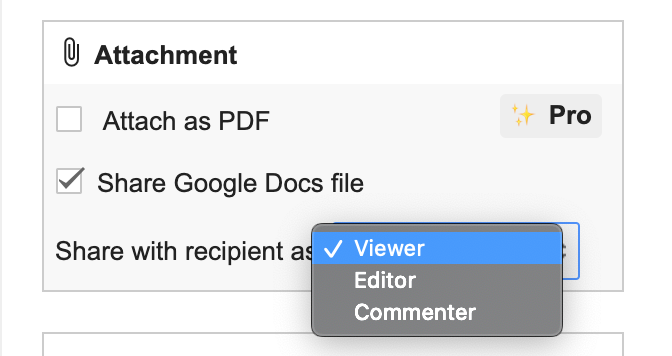
When you share a Google Doc or Slides file, recipients can have one of three access levels:
Viewer
- View the document
- Download, copy, or sync it
Editor
- Edit the document
- Invite or remove collaborators
- See other collaborators
- Make a copy
- Delete the file
Commenter
- Comment on the document
- View the document
- Download, copy, or sync it
You can also attach a PDF if you have Portant Pro.
Sending conditions
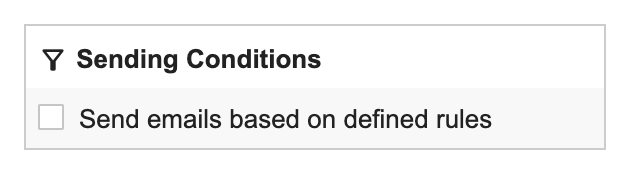
Below the attachments box, tick Send emails based on defined rules to only send the email when the source data meets your conditions.
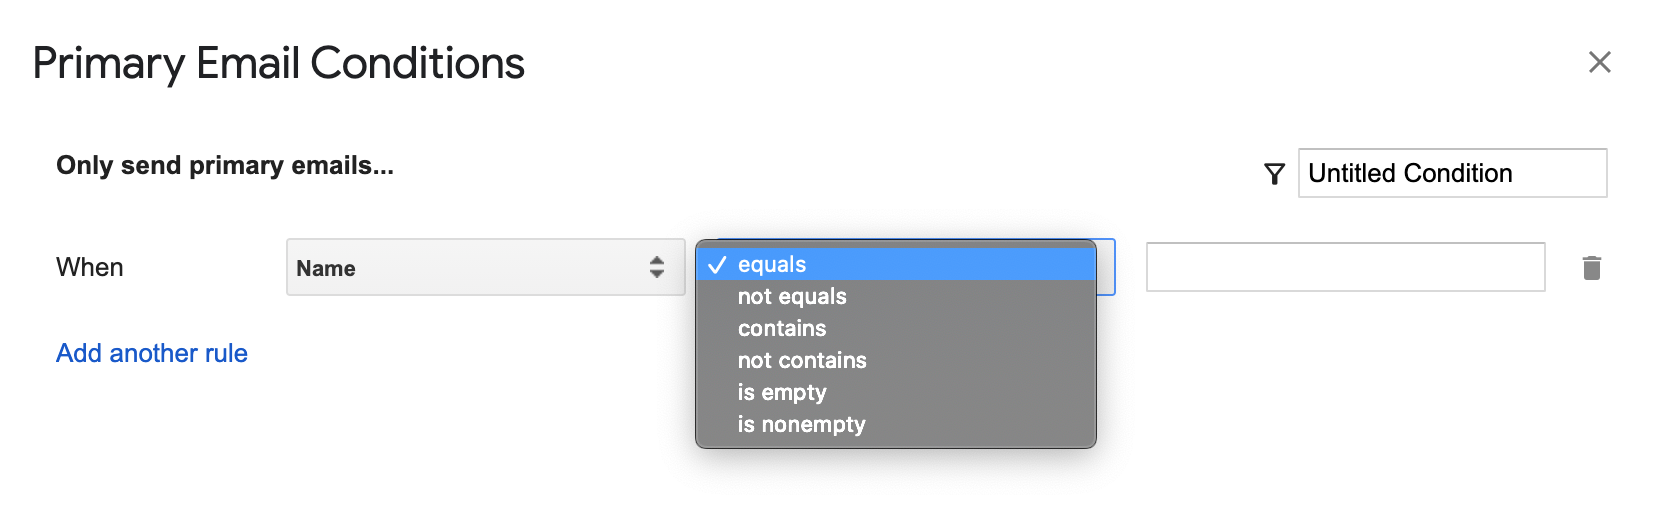
Pick a field, set the rule, and add as many rules as you need. Name the rule in the top-right corner and click Save. For more on this, see conditional logic for emails.
Secondary emails
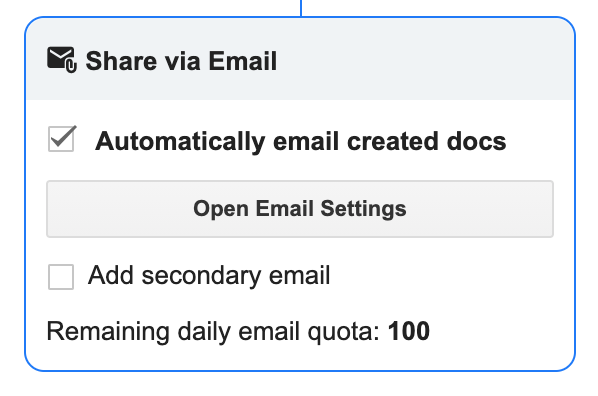
Once you've added the first email, tick Add secondary email in the Share via email box to add another. The same modal opens for the second email.
Tip: Useful for approval flows. Pair this with the Google Form source's pre-filled links and send the first email as a draft and the second as a final document.
Email quotas

Google sets quotas based on your account type. The current quota is shown at the bottom of the Share via email box and the email settings modal. Limits are based on the number of recipients, not unique emails, and they reset every 24 hours (often around 1 PM PST).
- Free Gmail accounts: 100 recipients per 24 hours.
- Google Workspace: 1,500 recipients per 24 hours (400 for new sign-ups, until you're out of trial).
Tip: If your email ends in @gmail.com, you're on a free Gmail account.
Step 7: Start the merge
When everything is set up, click Create Documents.
A progress bar appears above the Data Sources Table. Portant will:
- Check the document for any tag errors.
- Pull the source data.
- Show the total document count and progress.
Open the output folder
Click the status bar to open the folder where Portant is saving the documents (you can do this while the merge is still running).
Resolve tag errors
If Portant finds a bad tag, the merge stops and asks if you want to fix it. You can highlight the problem tag in the document, or click Ignore to keep going.
Once you've fixed the tag, click Create Documents again to restart.
Stop a merge
To stop the automation, click the X next to the progress bar. Anything Portant has already created stays in the output folder.